Quick Start
The Quick Start section describes the steps necessary to launch a live Virtual Assistant.
Table of Contents
Login
Before using BotSchool, you must create an account or sign in in our login page.

Add a Student
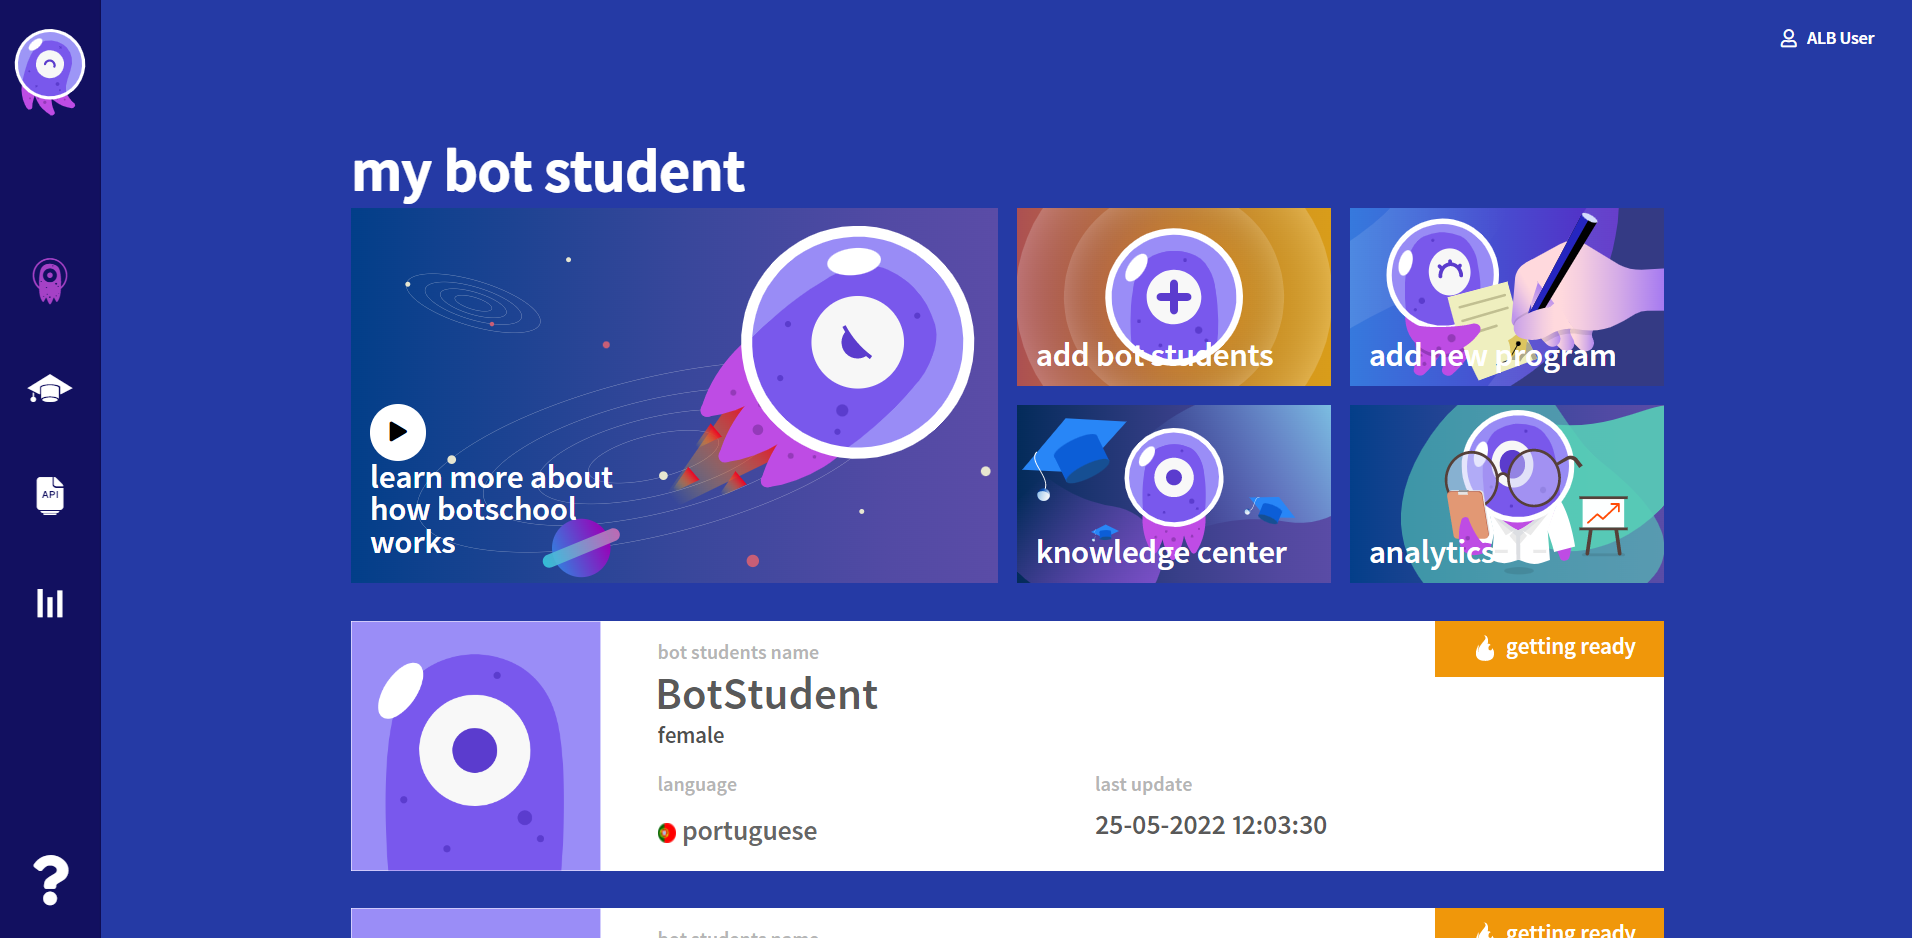
Select Create a bot student from the main page to create a new bot student.
Follow the instructions given to add a bot student: name your Student, select its language, personality and gender.
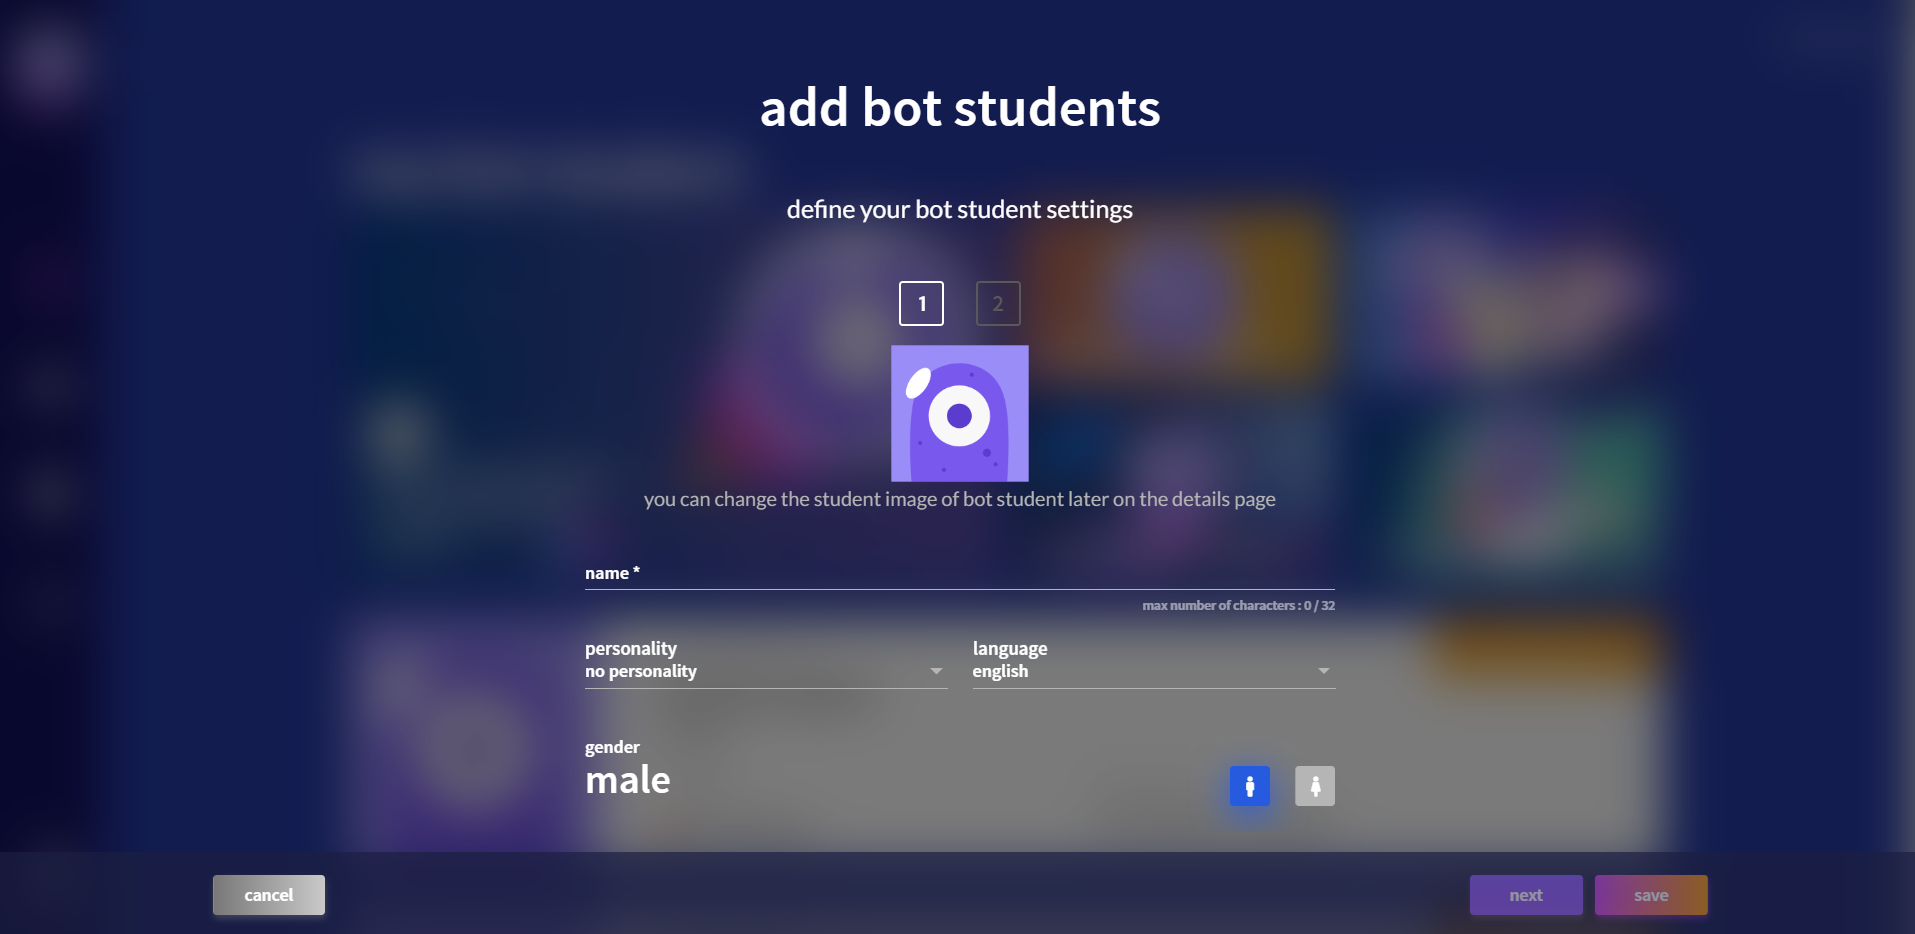
The Personality field corresponds to the small talk Program that the Student might learn.
The Language field is the language the Bot Student will know.
The Gender field corresponds to the correct voice gender.
You can select save to end your creation or select next to go to the second step, where you can assign existing programs to your bot student.
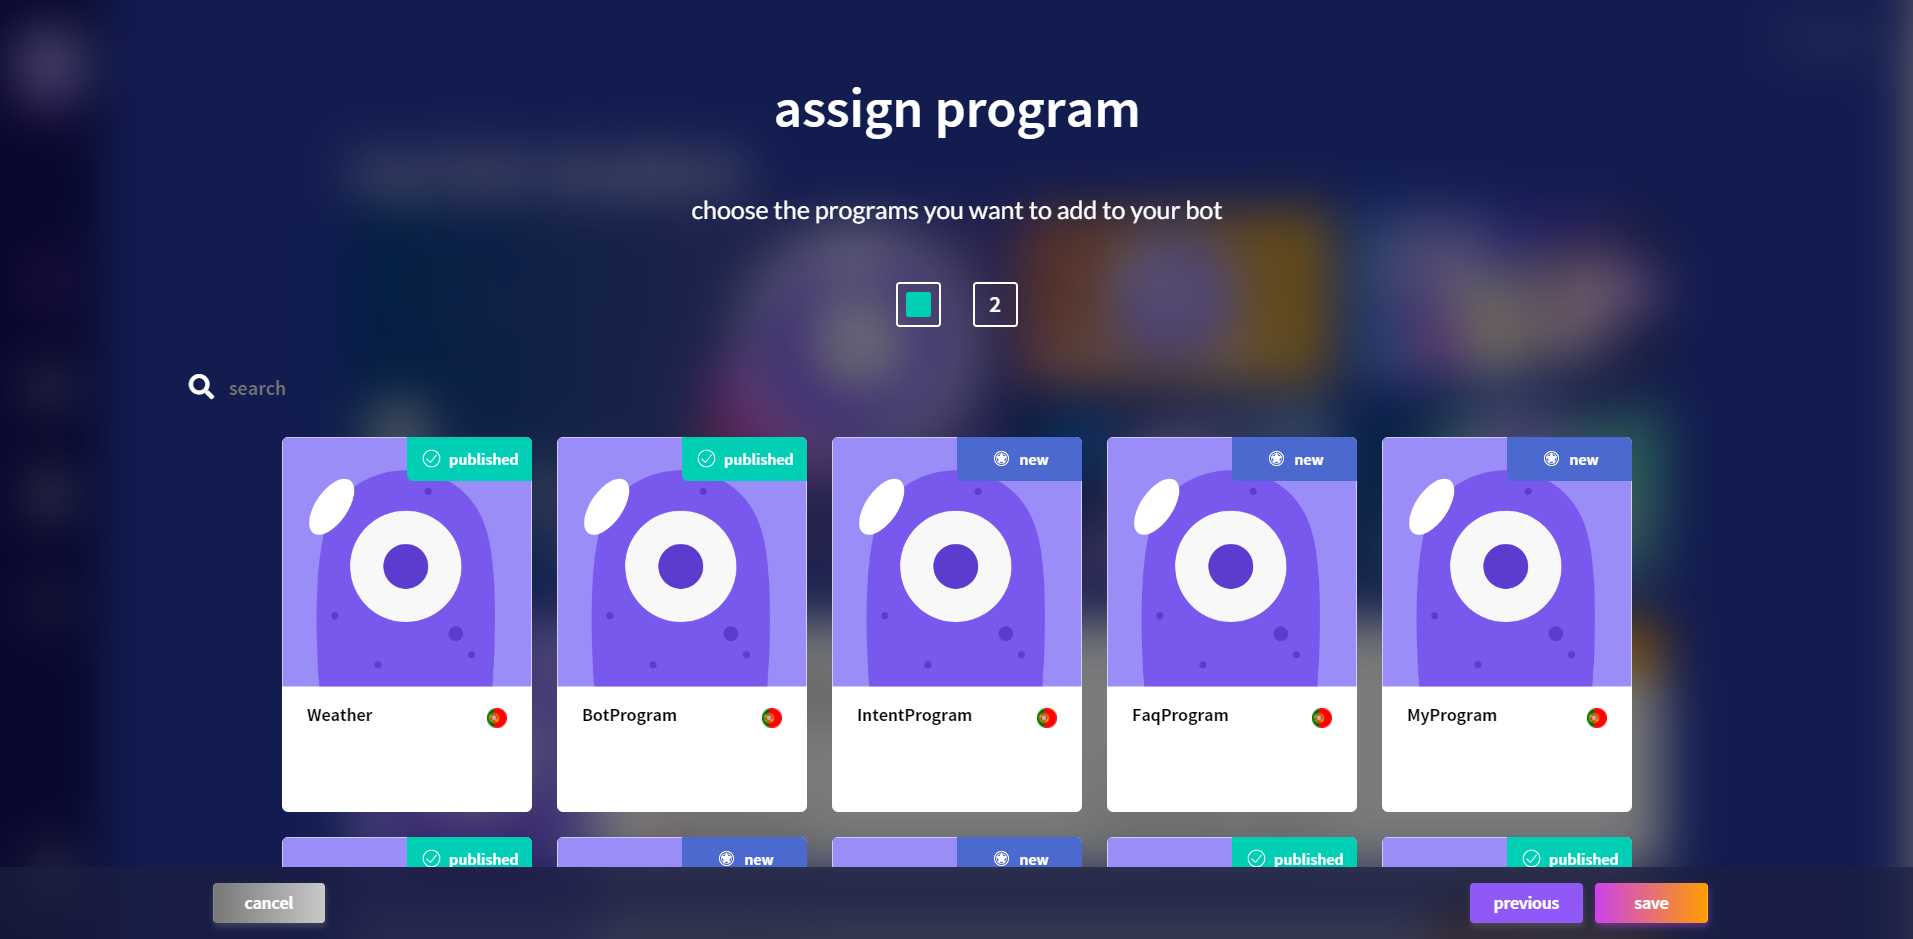
If you haven’t any program to assign, don’t worry, you can create it and assign it later.
Create a Program
By creating a program you are creating the knowledge you wish to teach the Bot Student. To do that, it is necessary to access the knowledge center, in the left side menu.
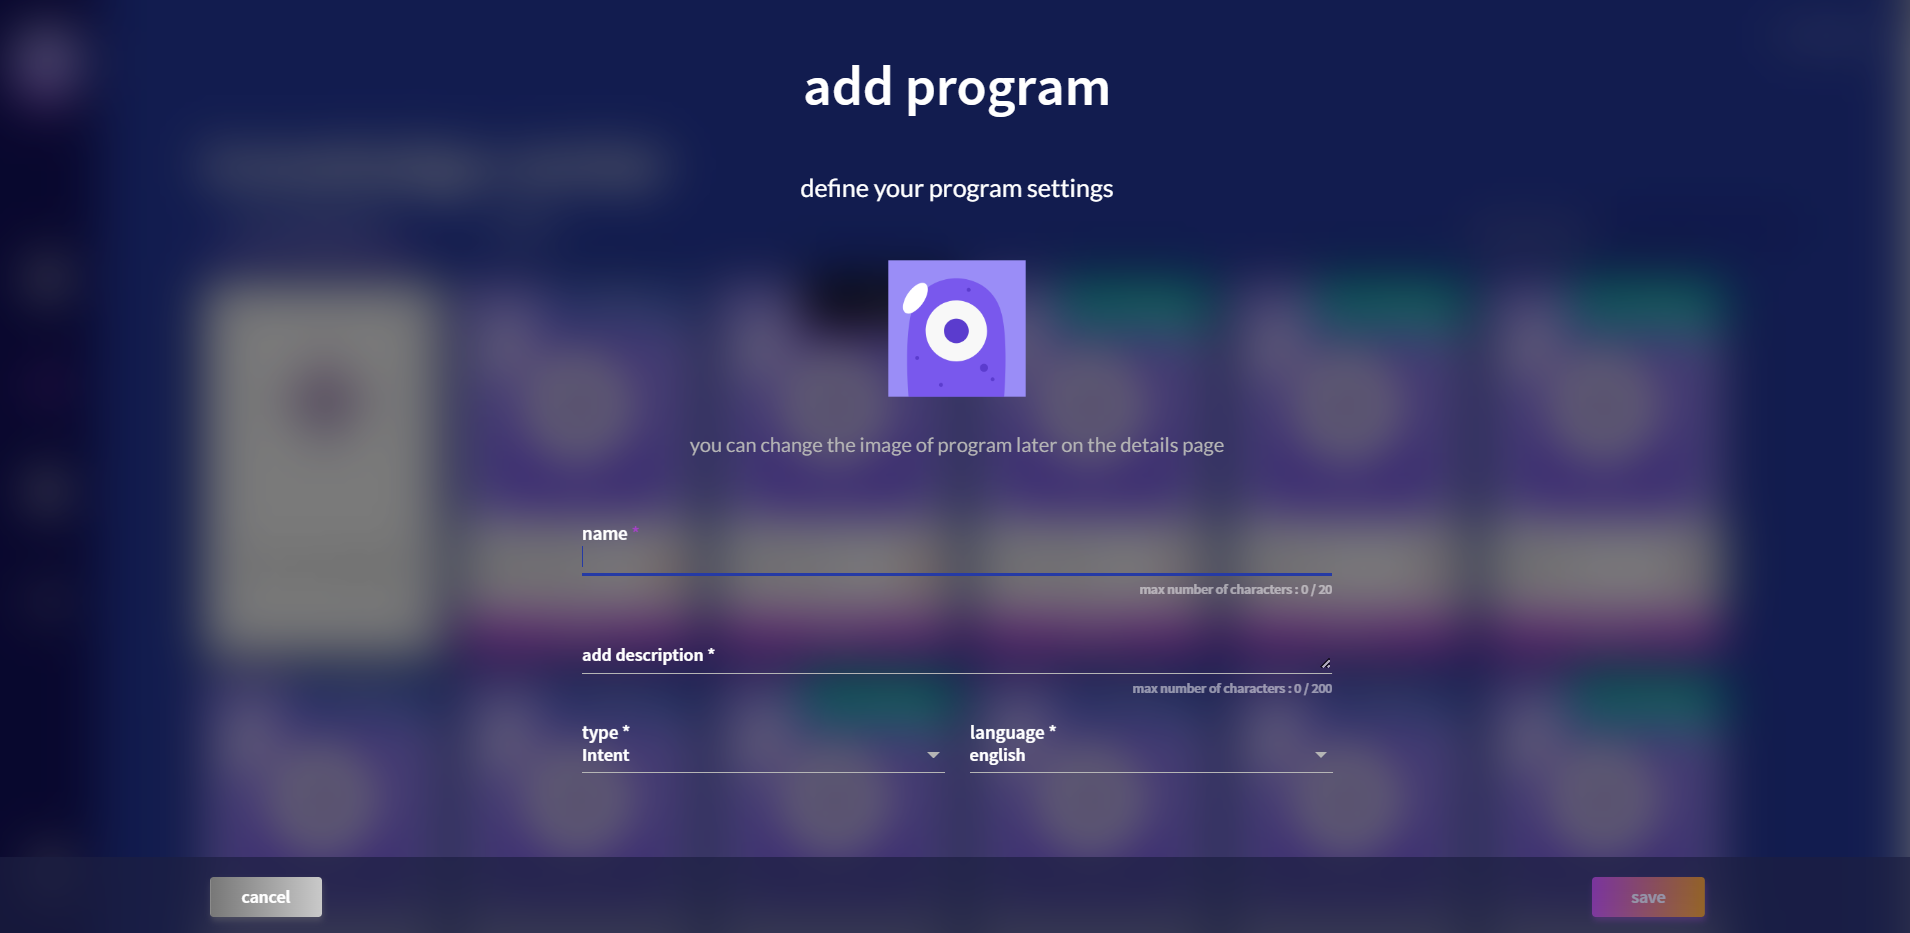
By selecting the create program option, the program creation screen should appear.
Give the Program a name, description, select the program type: Intent / FAQ and select the program language.
After pressing save, the new program should appear, showing its details.
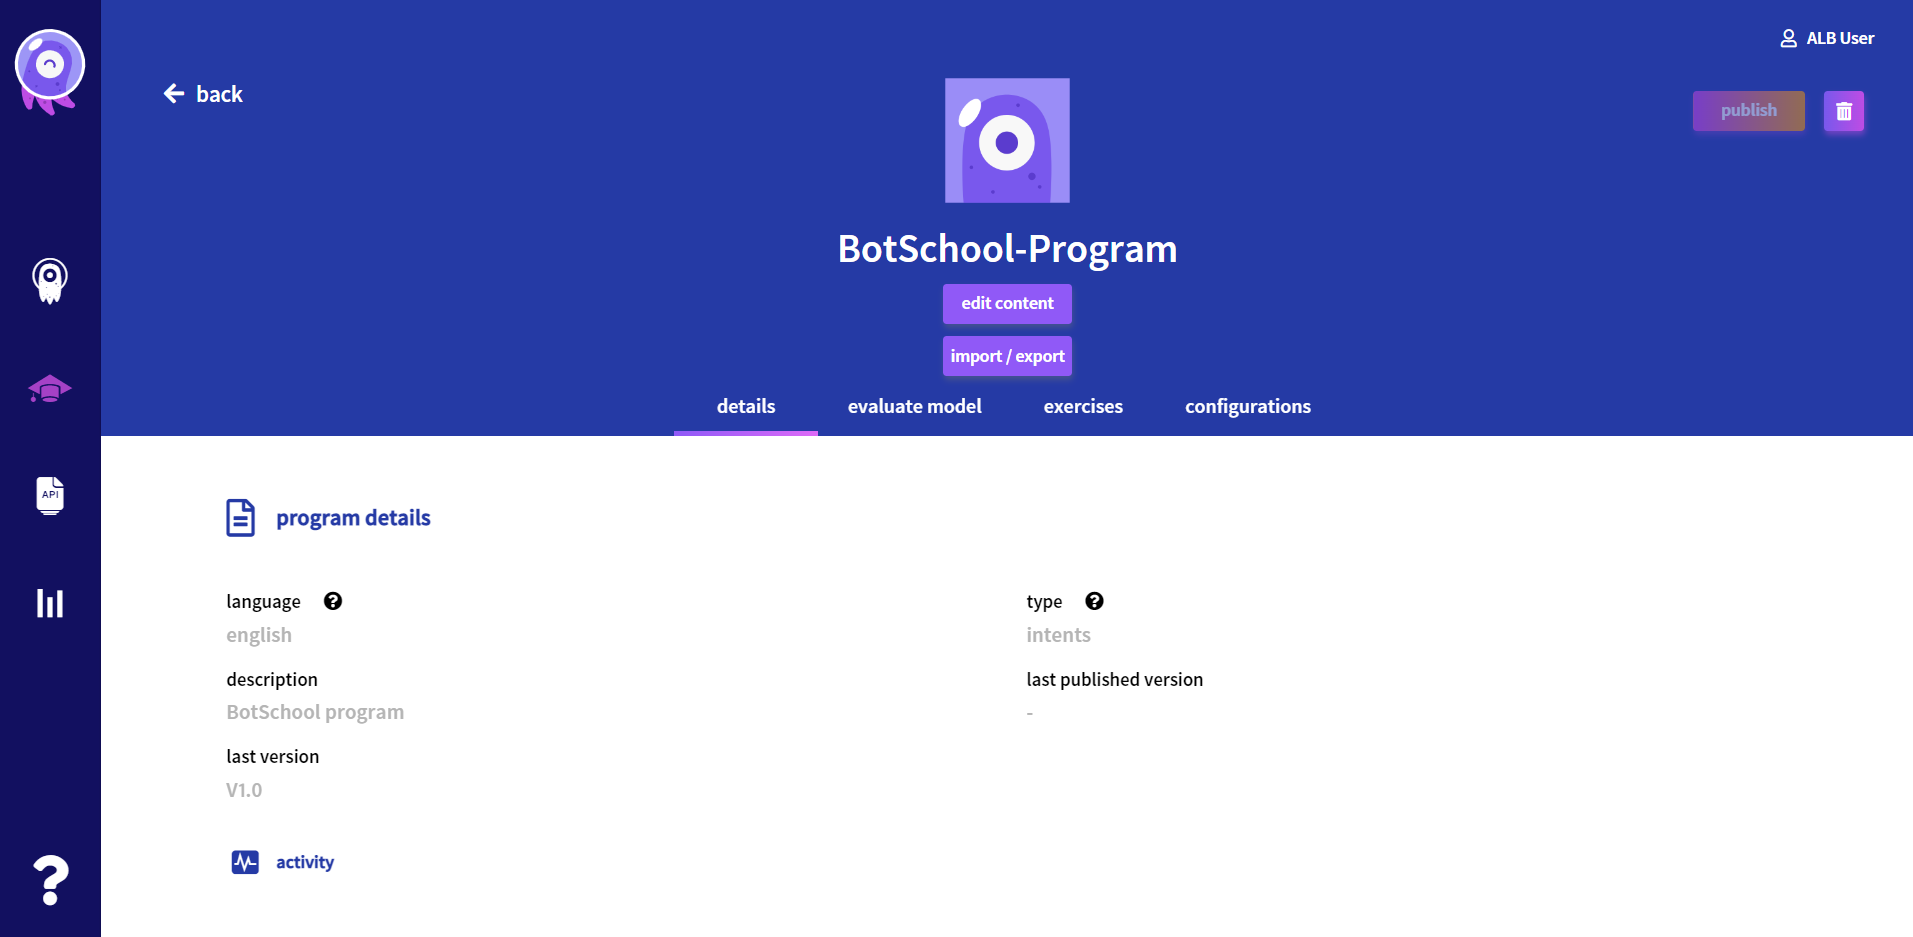
Edit Content option presents the information depending on the program type assigned to the program.
Intent Programs
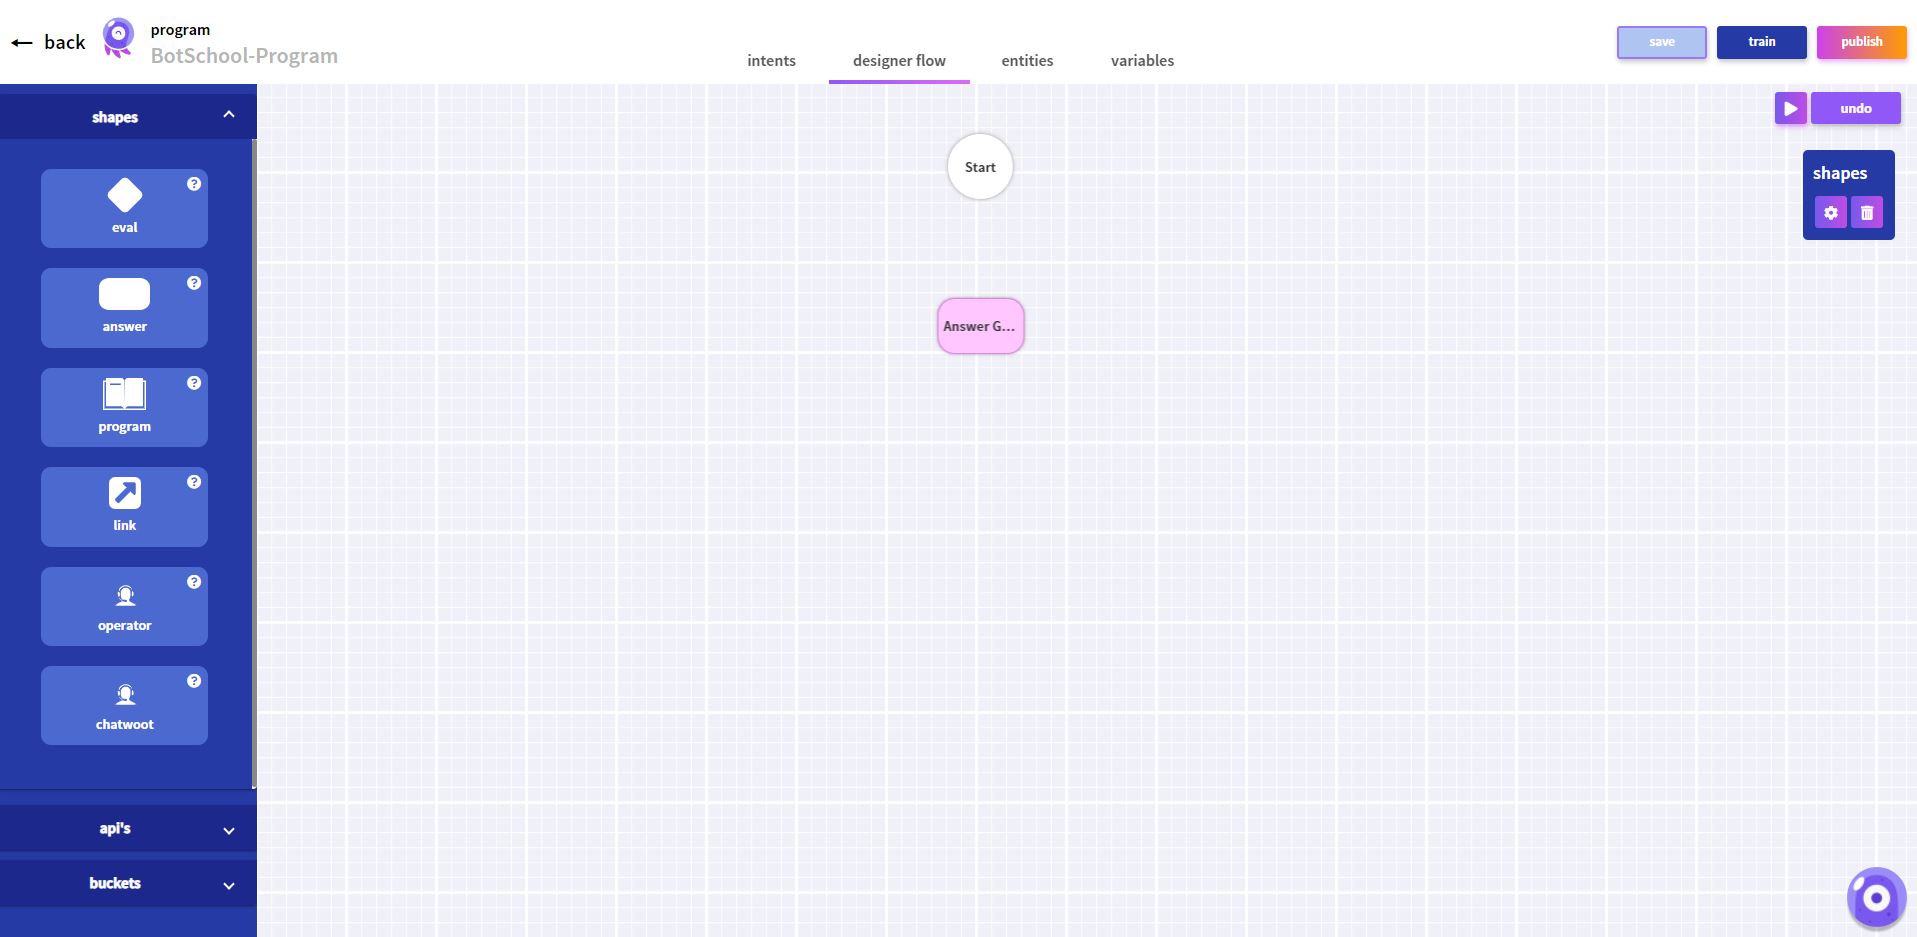
Designer Flow should show up with a start node.
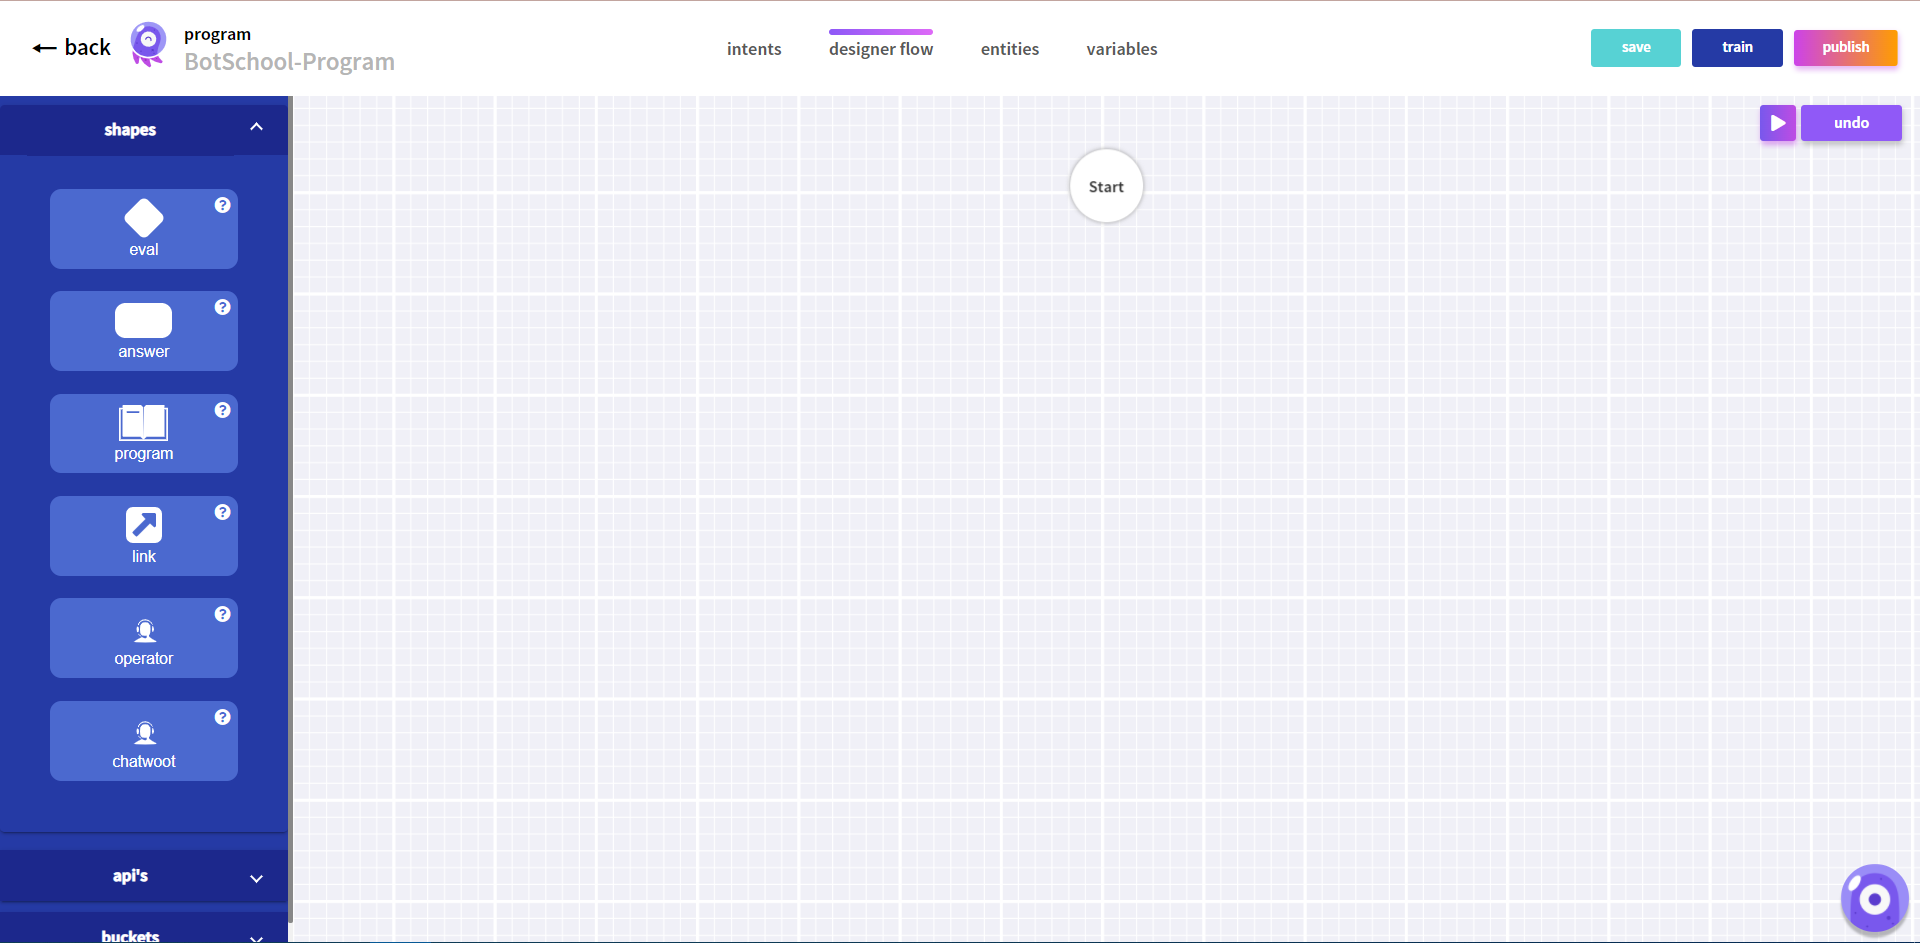
Drag and drop an answer block from the shapes area to the canvas.
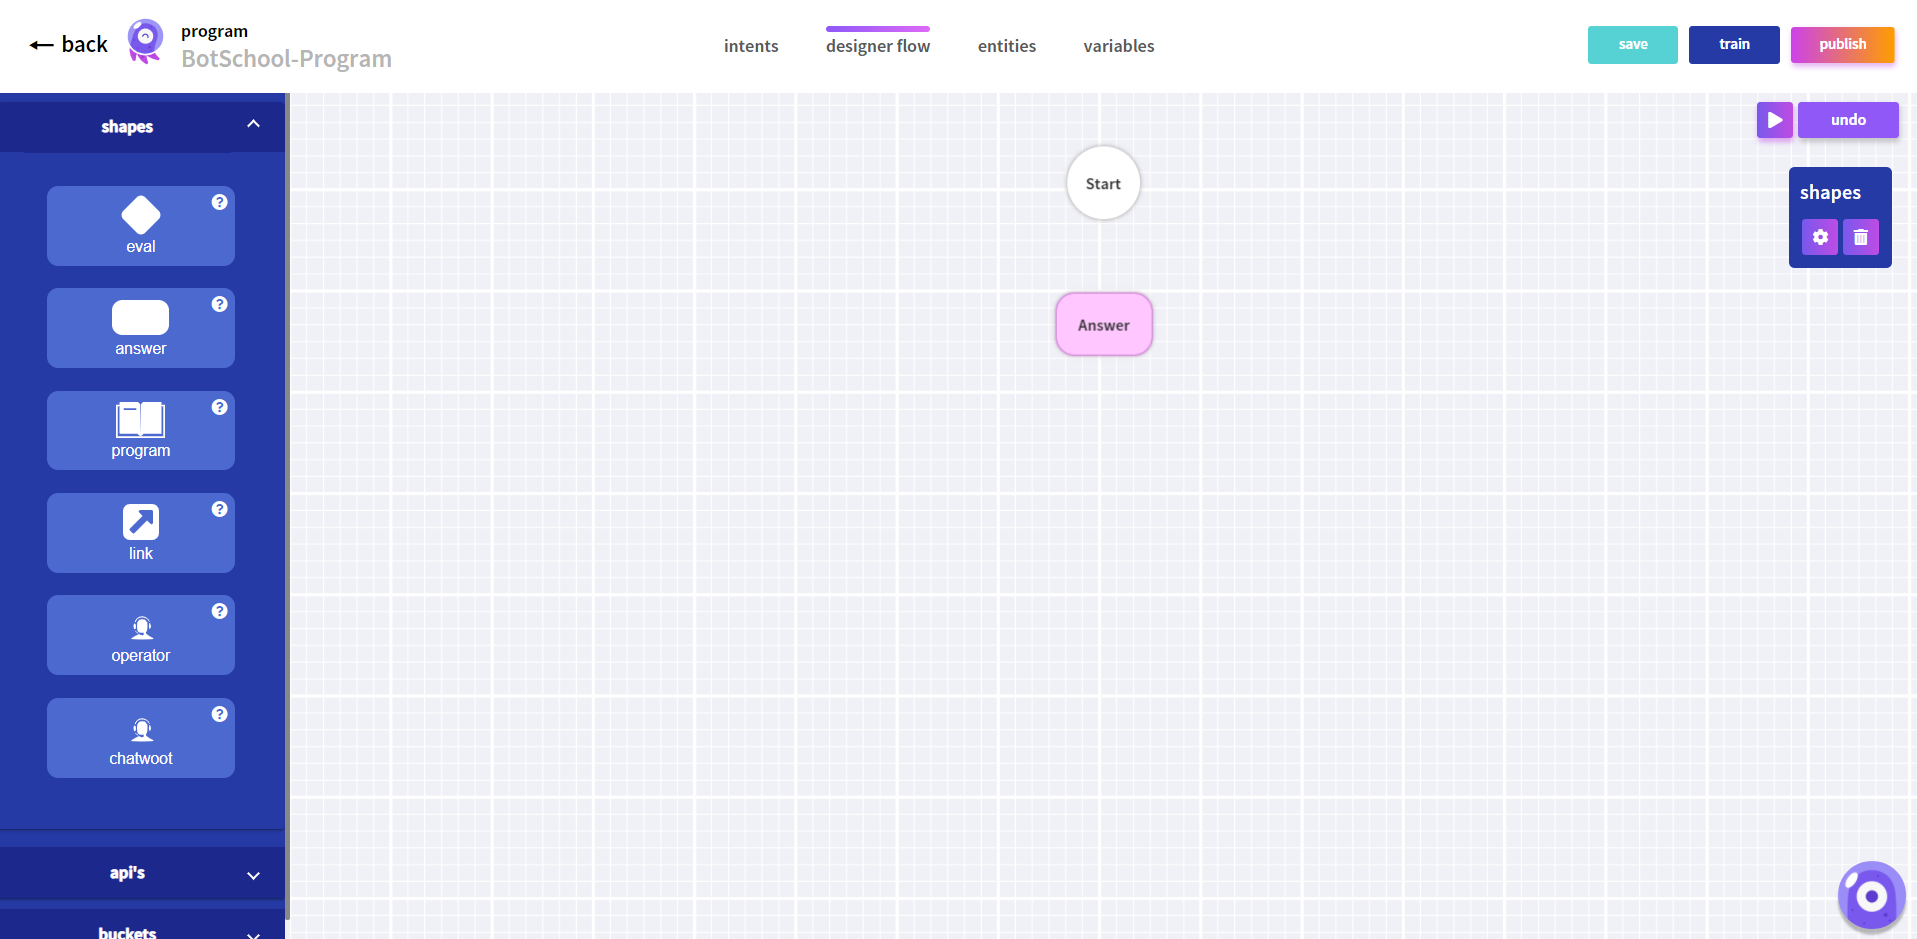
Before connecting the start node with the answer block it is necessary to define how to identify end-user’s intents.
Click the intents tab and create a new intent.
For example, name an intent greetings.
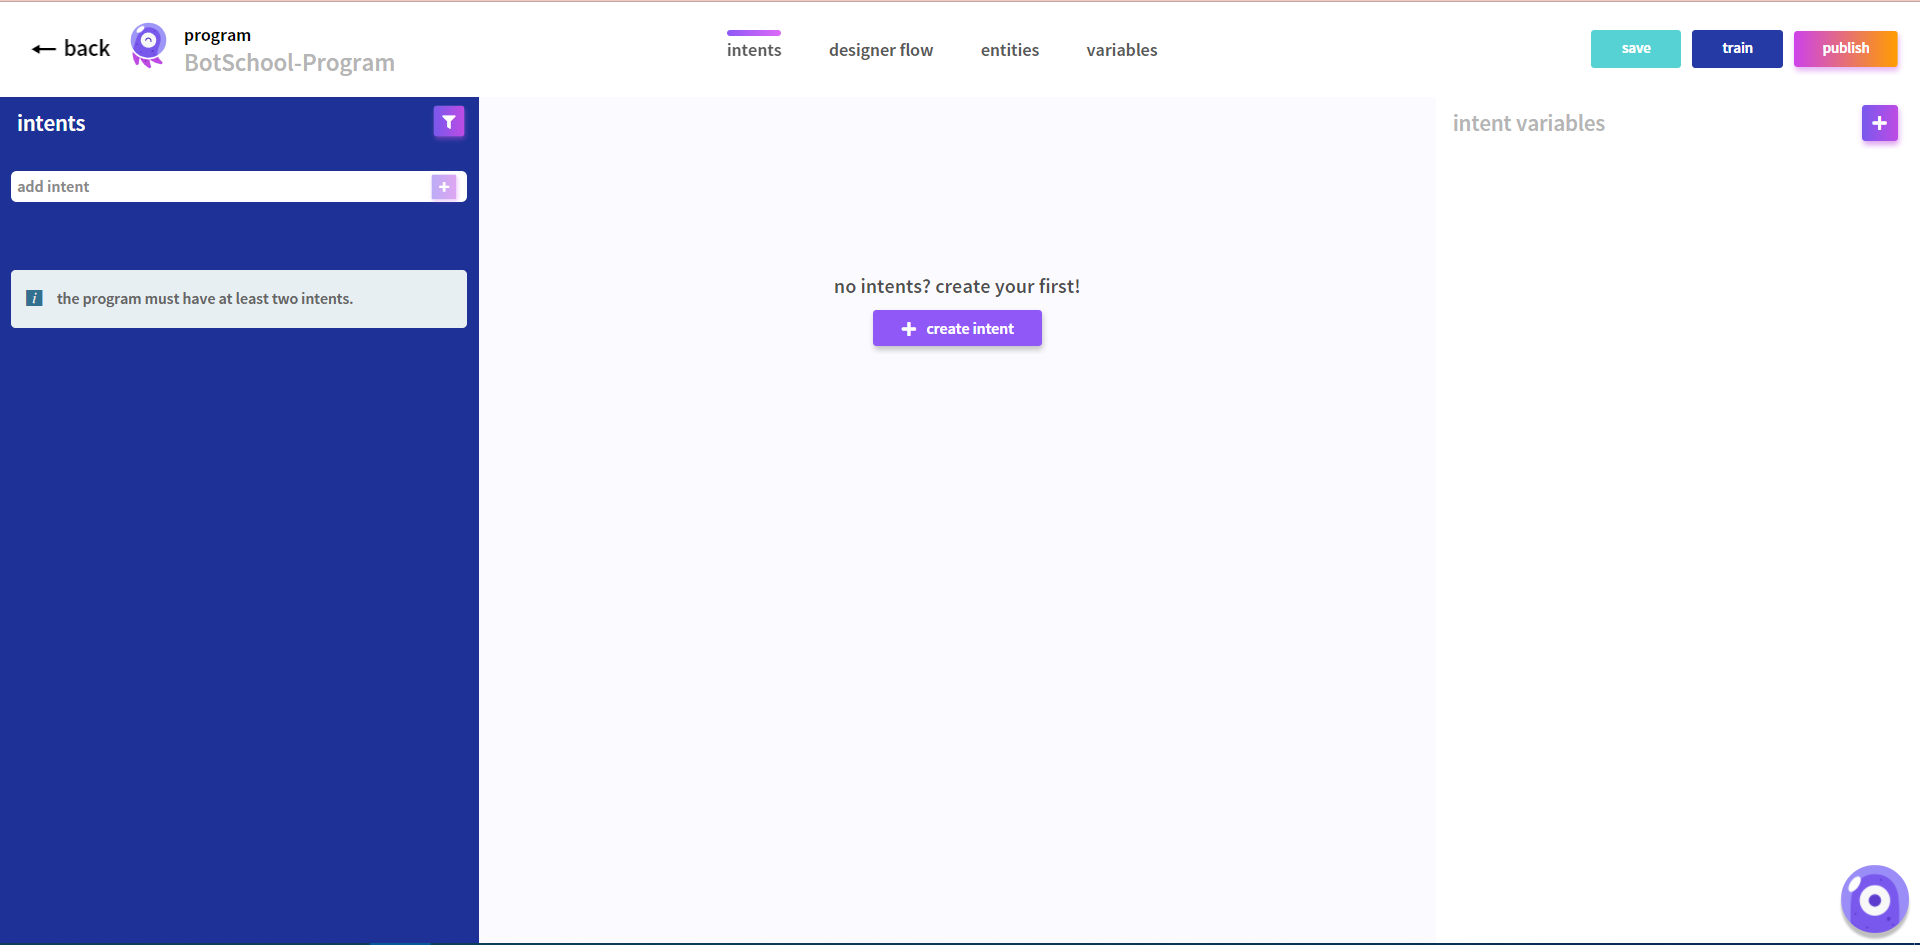
Then, you need to teach how to identify greetings with a few training phrases.
To do that, click in the center of the screen below the written intent and add the following phrases:
- good morning
- good afternoon
- greetings
- hello
- hi
These training phrases mimic what the user might say when greeting the Virtual Assistant. The intent creation screen should look something like the following one.
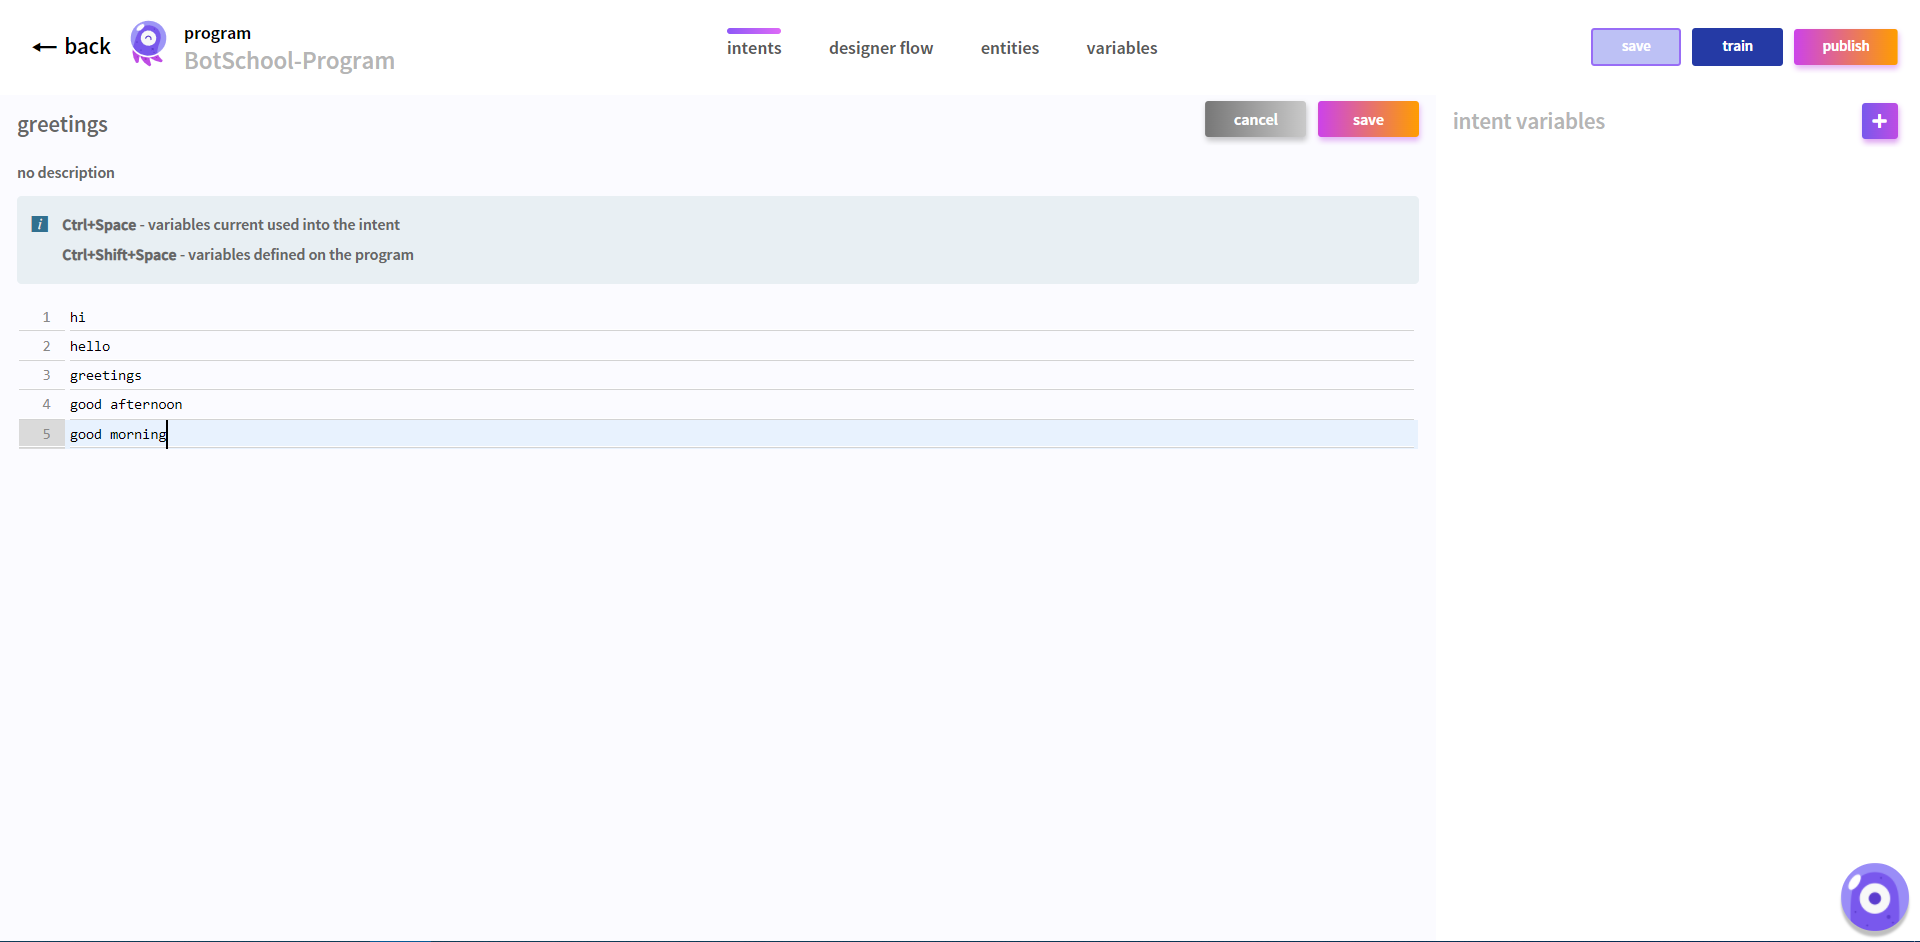
In the end, it might look like this:
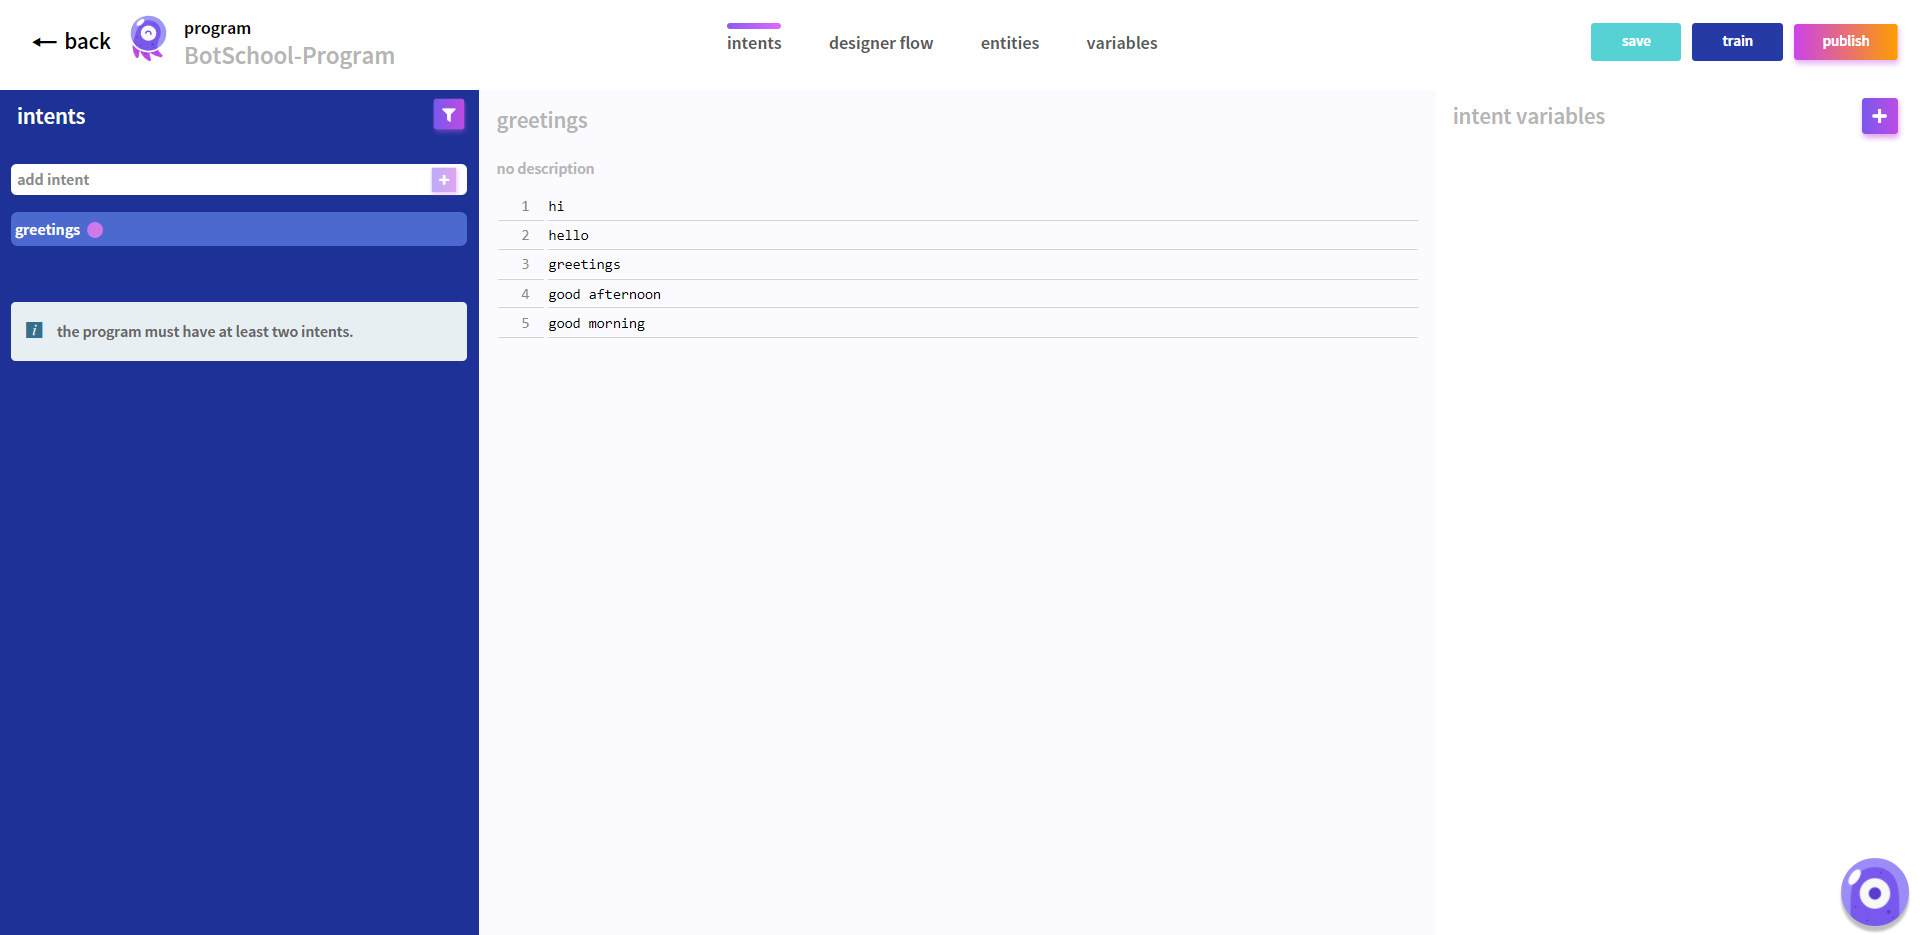
Click the Designer Flow tab to go back to the flow edition.
Now let’s connect the two shapes, start and answer. When placing the cursor on top of the start node, four smaller gray circles should show up around the node.
Place the mouse pointer over one of those circles, then click and drag to the answer block. An arrow should appear while connecting. Release the mouse button when hovering the answer block to connect both shapes.
The following image should show up immediately after connecting both shapes.
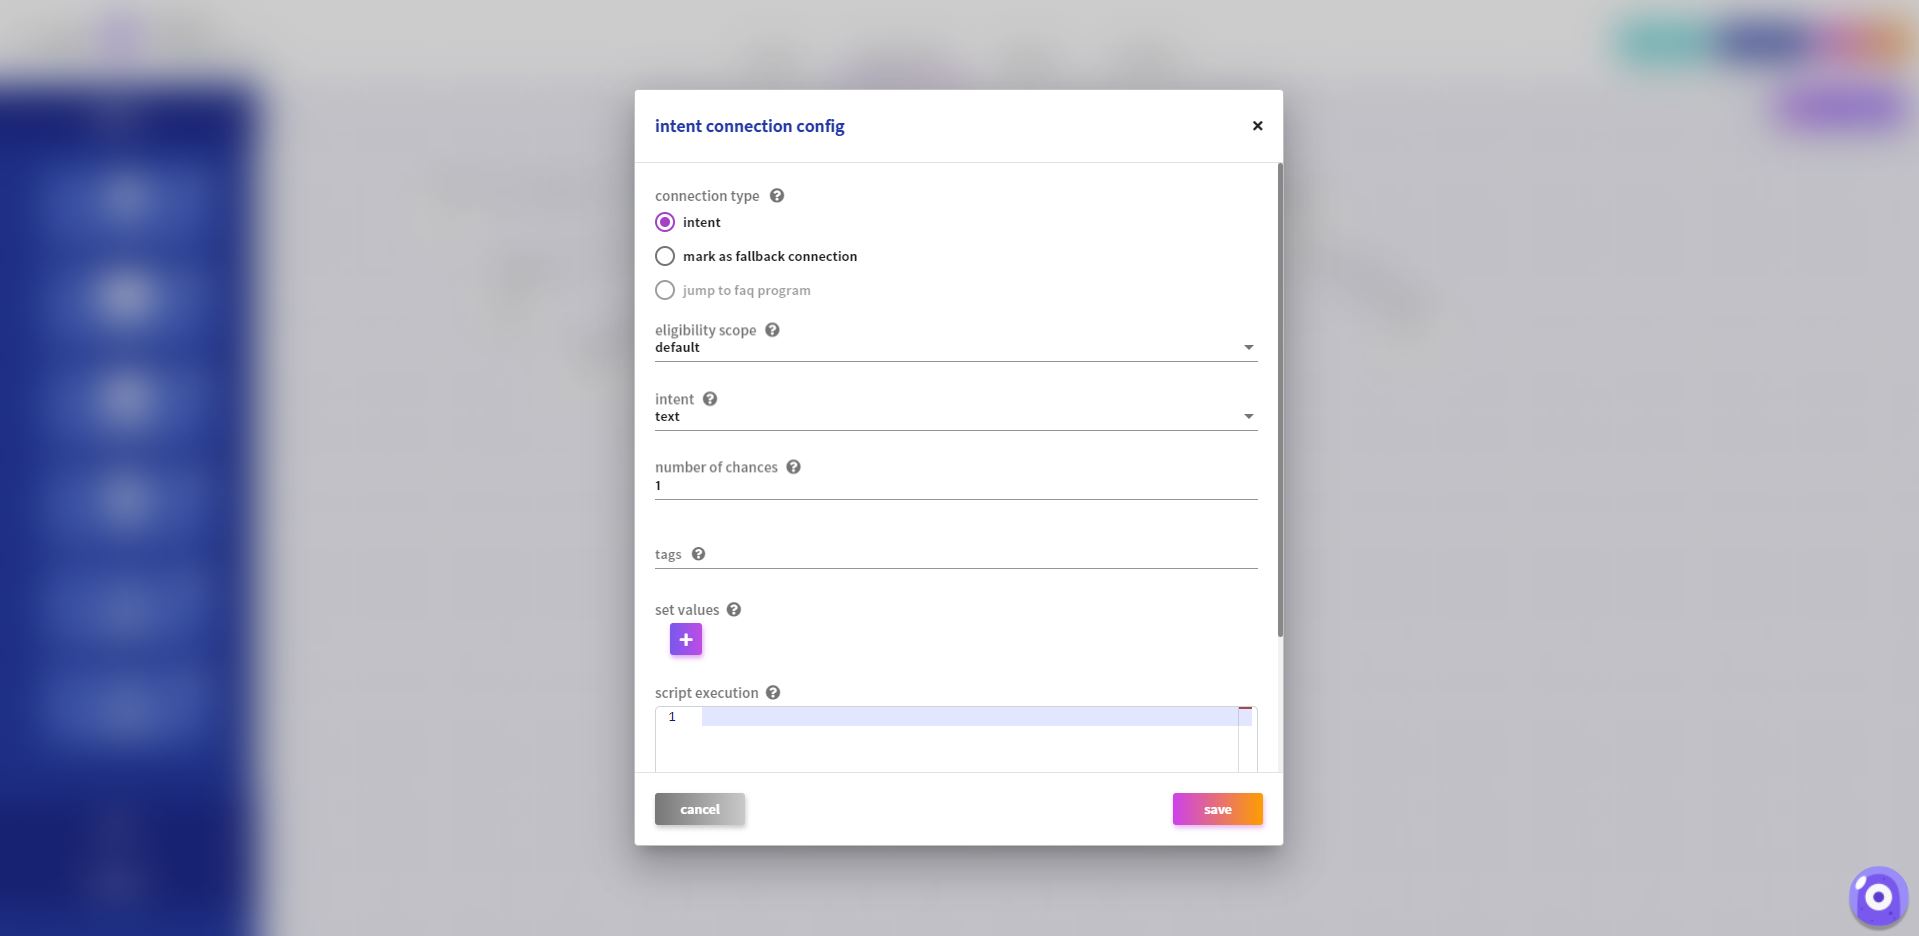
Fill in the intent box with the following content (or select it from the dropdown): greetings.
Also fill the number of chances with the value: 1.
Add tags if you want to tag the flow.
A Fallback connection is triggered when the the system can’t match the end user’s sentence with any of defined training phrases (the bot didn’t understood what the user said). **Only one fallback intent connection is allowed per Intent Program.**
After pressing save, another window should show up. Here, you can configure the answer message.
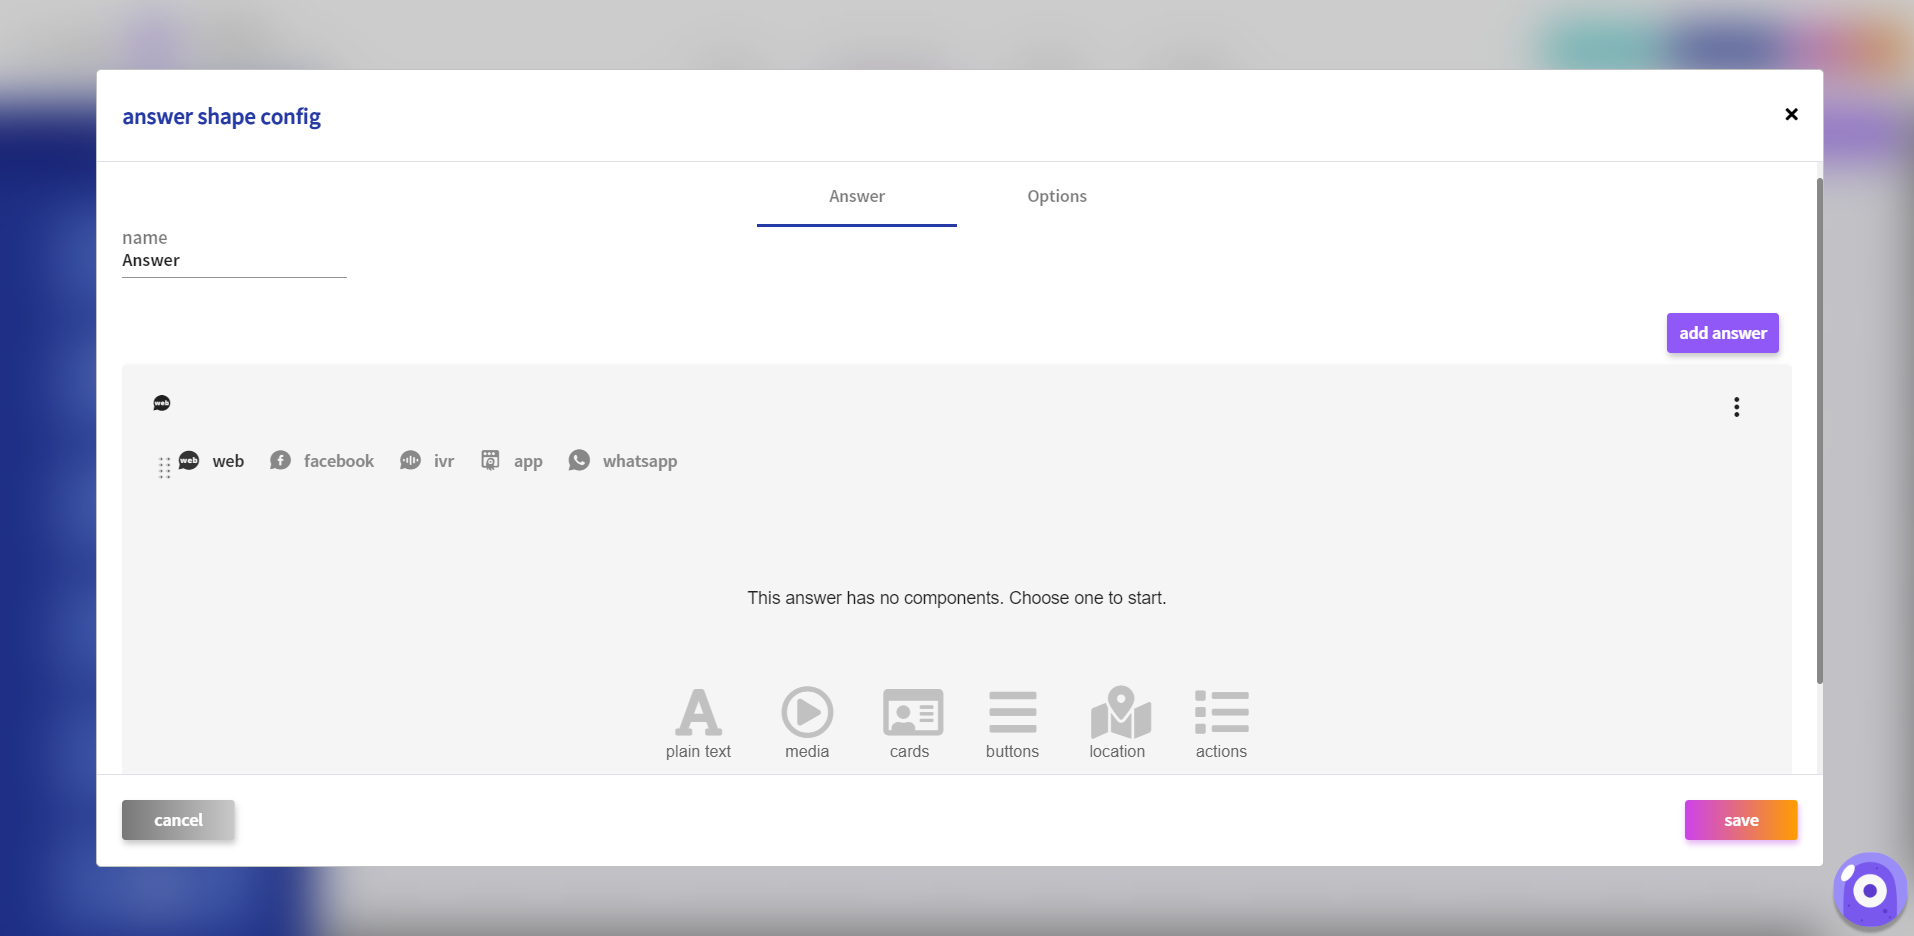
Fill the name with, for example: Answer Greetings and click the Plain Text button to add a text message, like Greetings fellow Human.
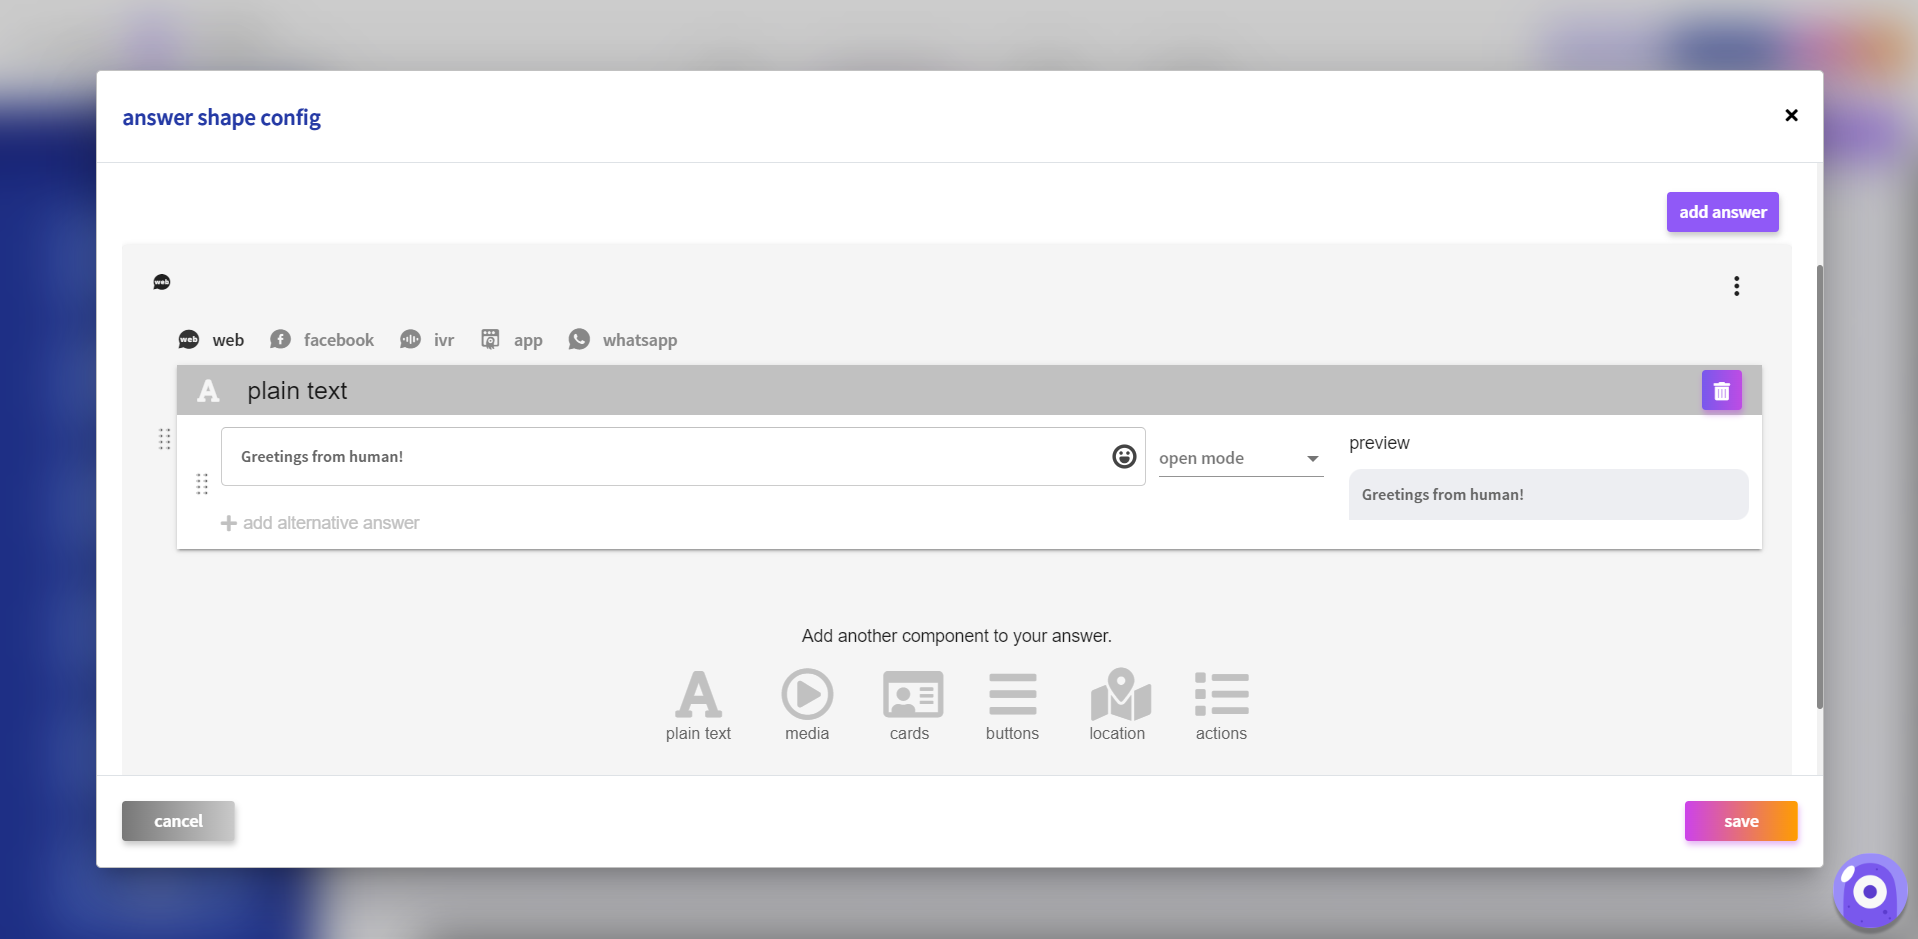
Press the save button to return back to the canvas. You now have a conversation flow designed.
In the canvas press the save button again to save your flow.
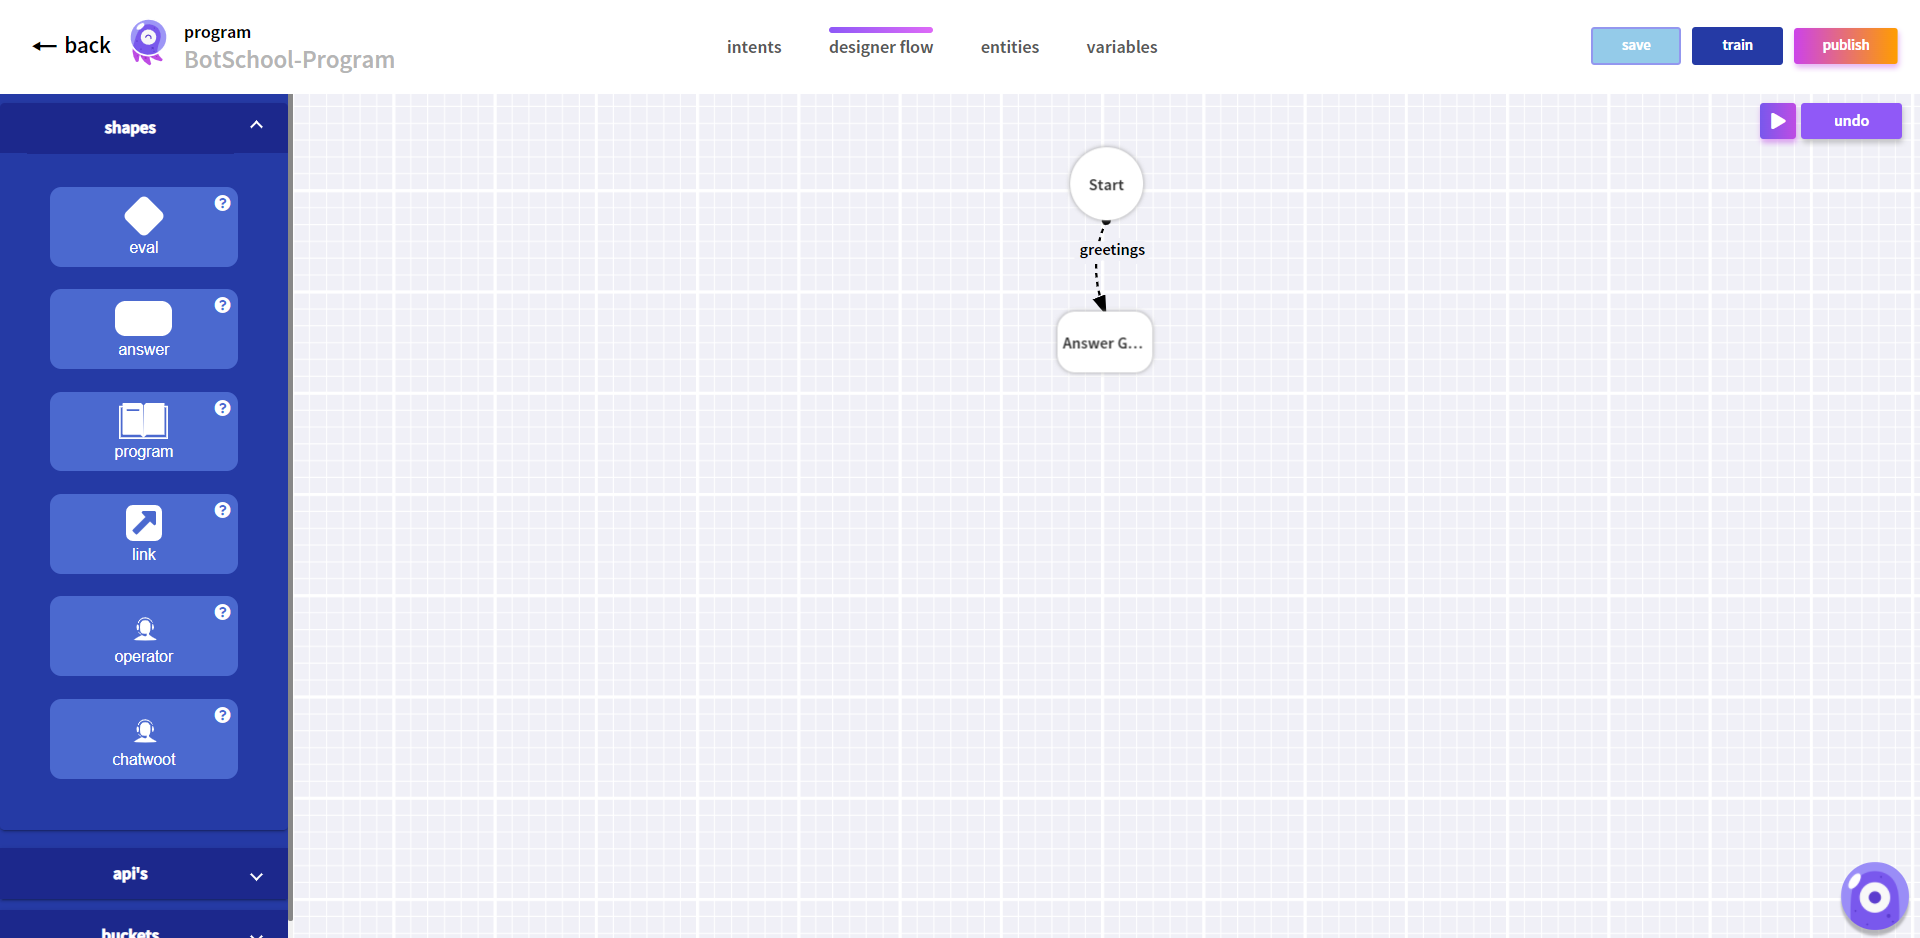
This Program can’t do much right now as it currently only has a single intent.
Go back to the intent tab and add a new intent and a couple of training phrases, for example, name it purpose and add
- what’s your purpose?
- what can you do?
- why do you exist?
The intent edition should look like this:
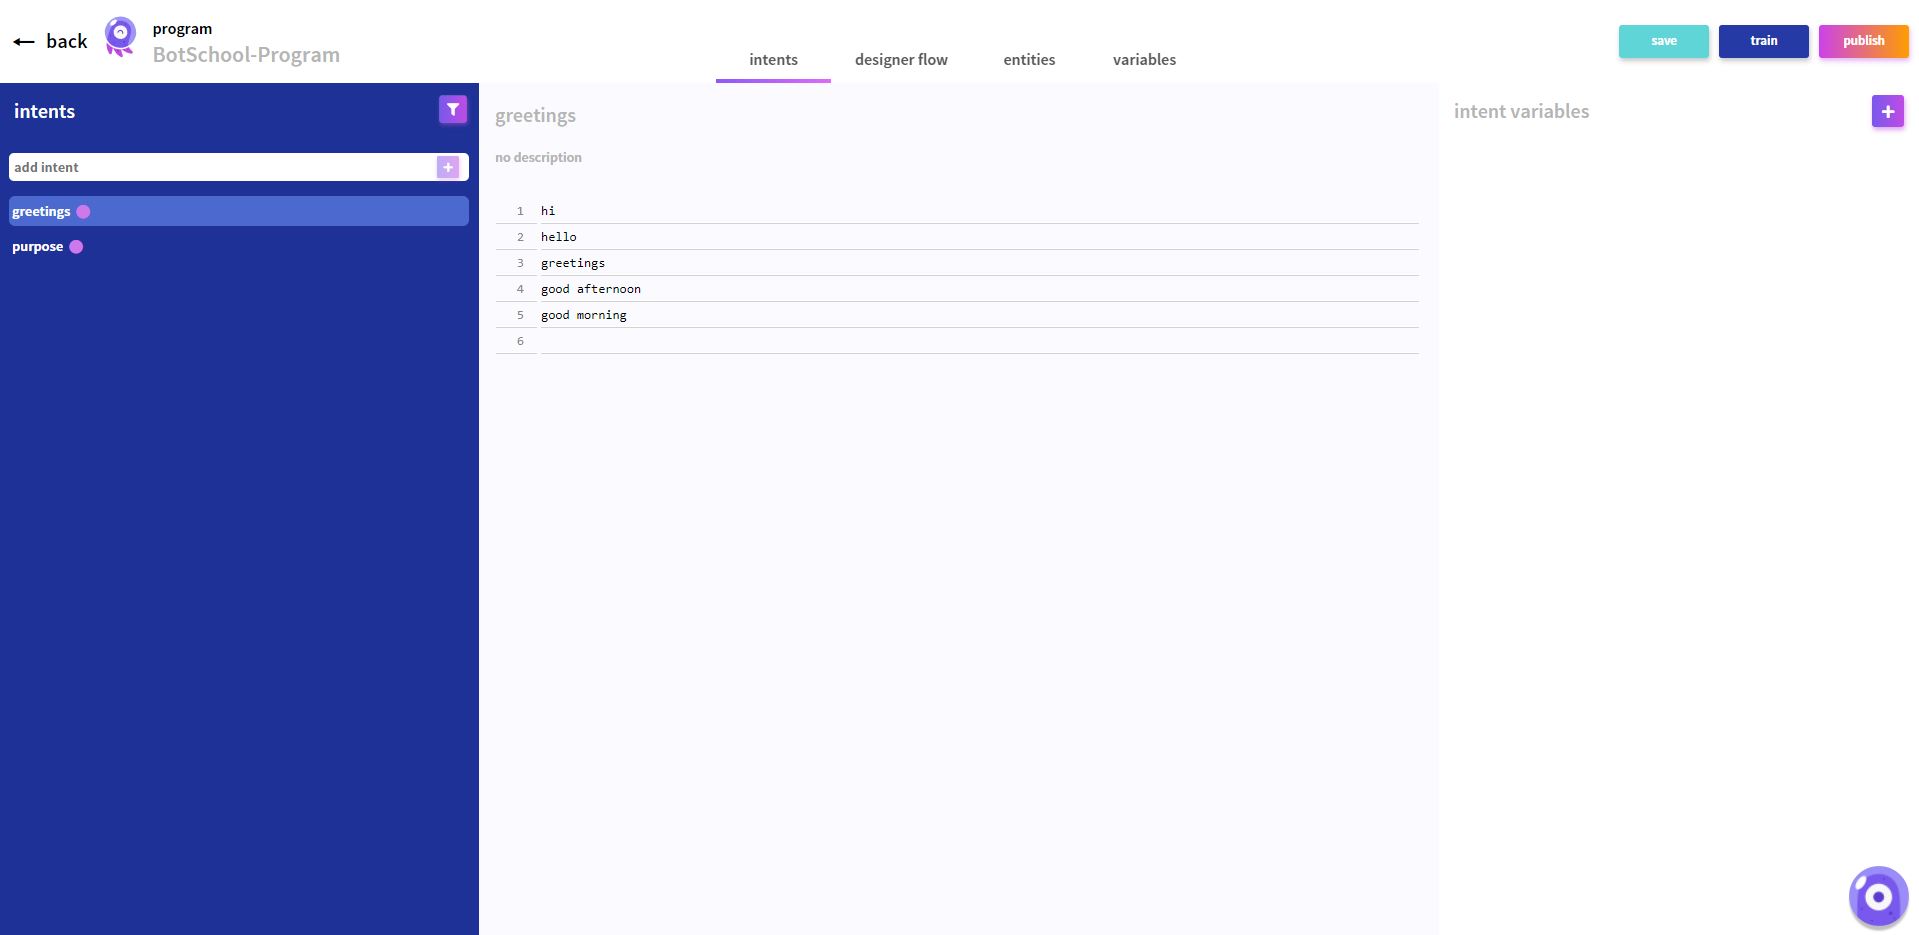
Return to the Designer Flow tab. Add a new answer block like before and then connect the start node to it. Once prompted to identify the intent select the purpose option, and then fill the answer phrase with a sentence, for example:
I was created for the purpose of a BOTSchool tutorial. I can answer greetings!
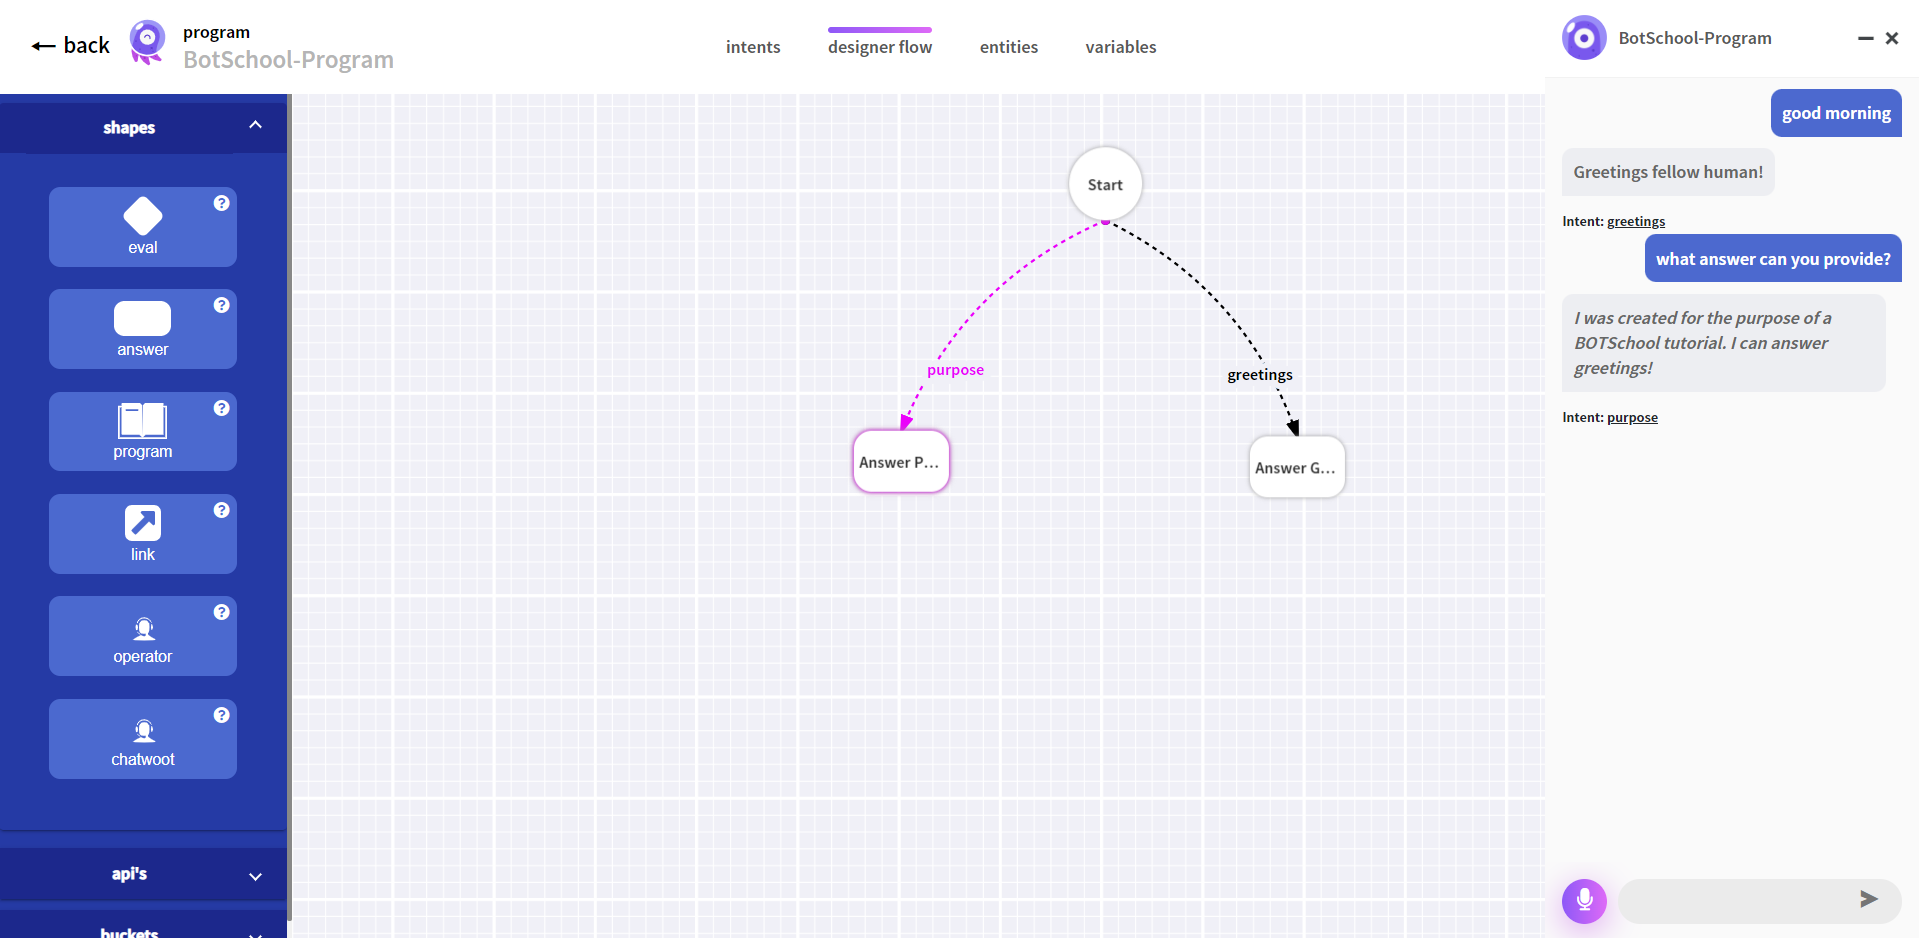
The flow should look like this:
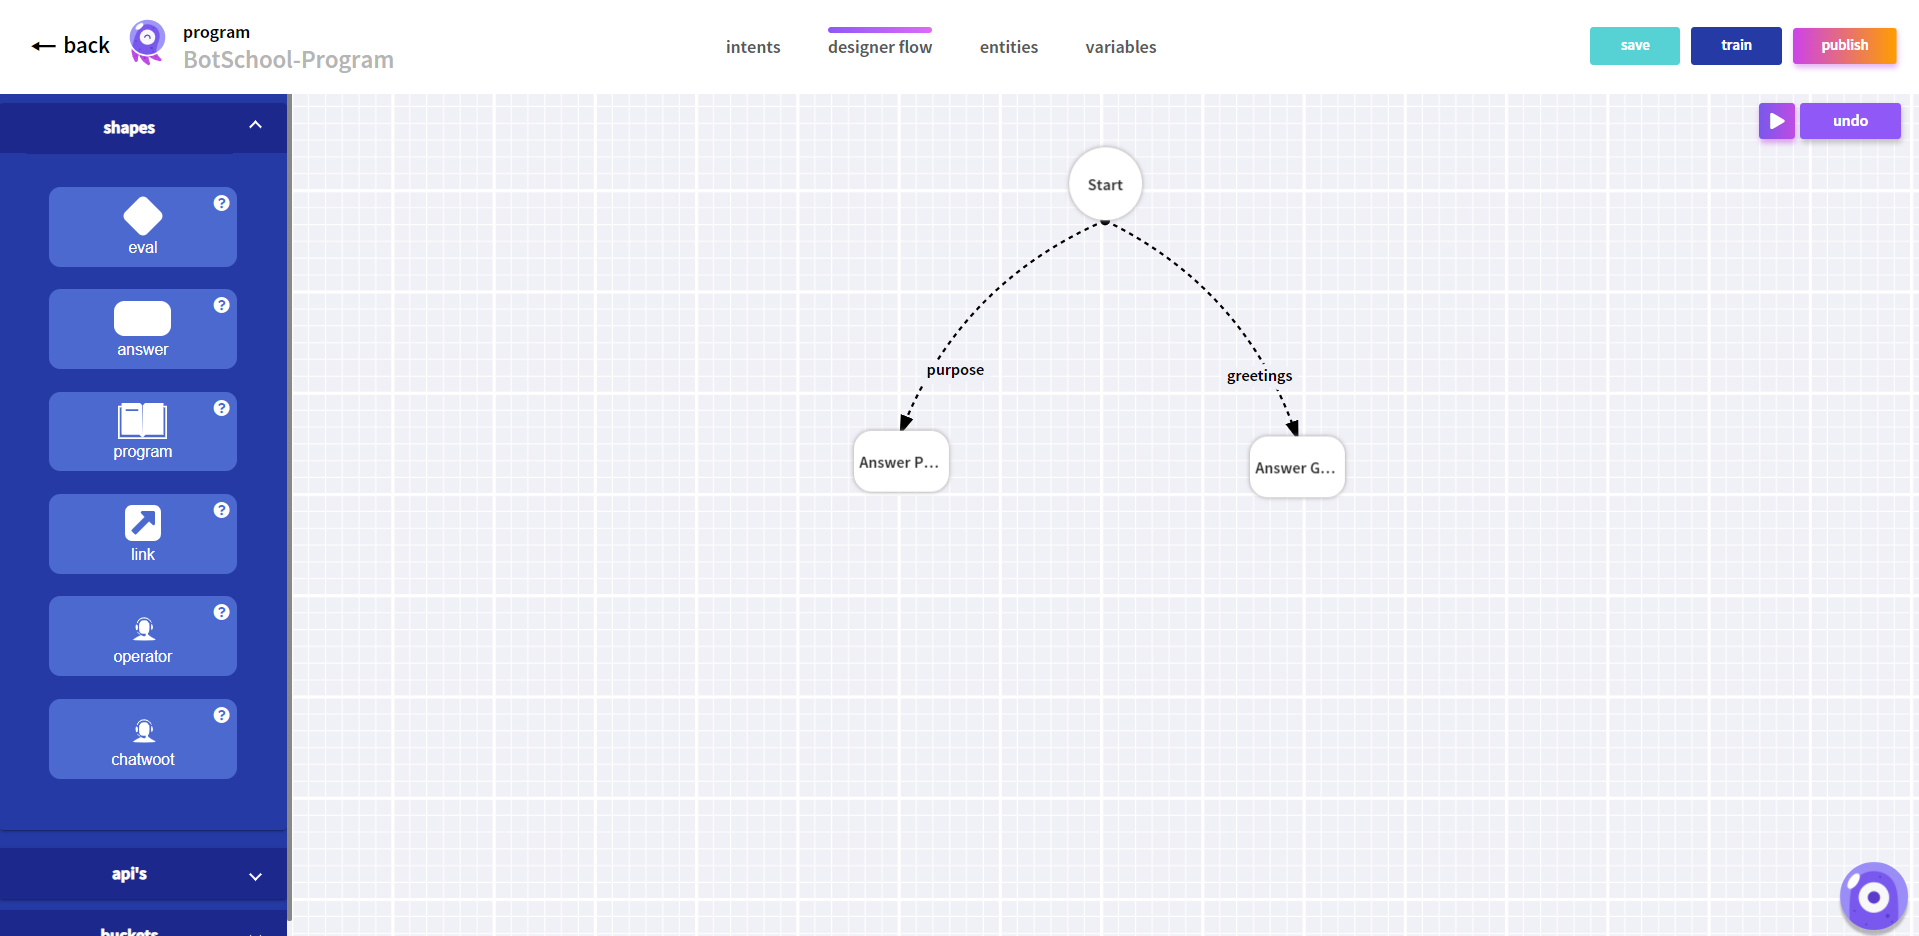
Press the Save button in the flow.
After saving, press the training button and start the training.
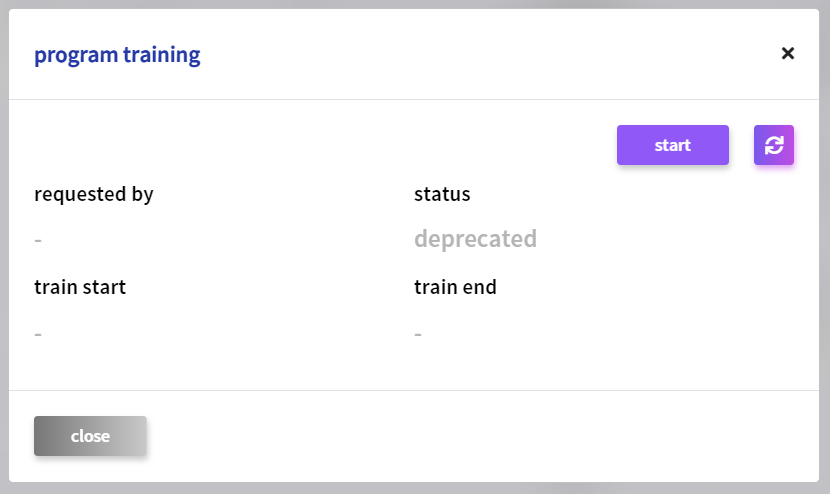
Give a few moments for the training to end. refresh the page if needed. When the Program is trained it can be tested.
Our Designer Flow includes a widget that simulates the knowledge of a BOT Student that only has this program learned.
Press the small widget in the right-down corner and the chat should expand.
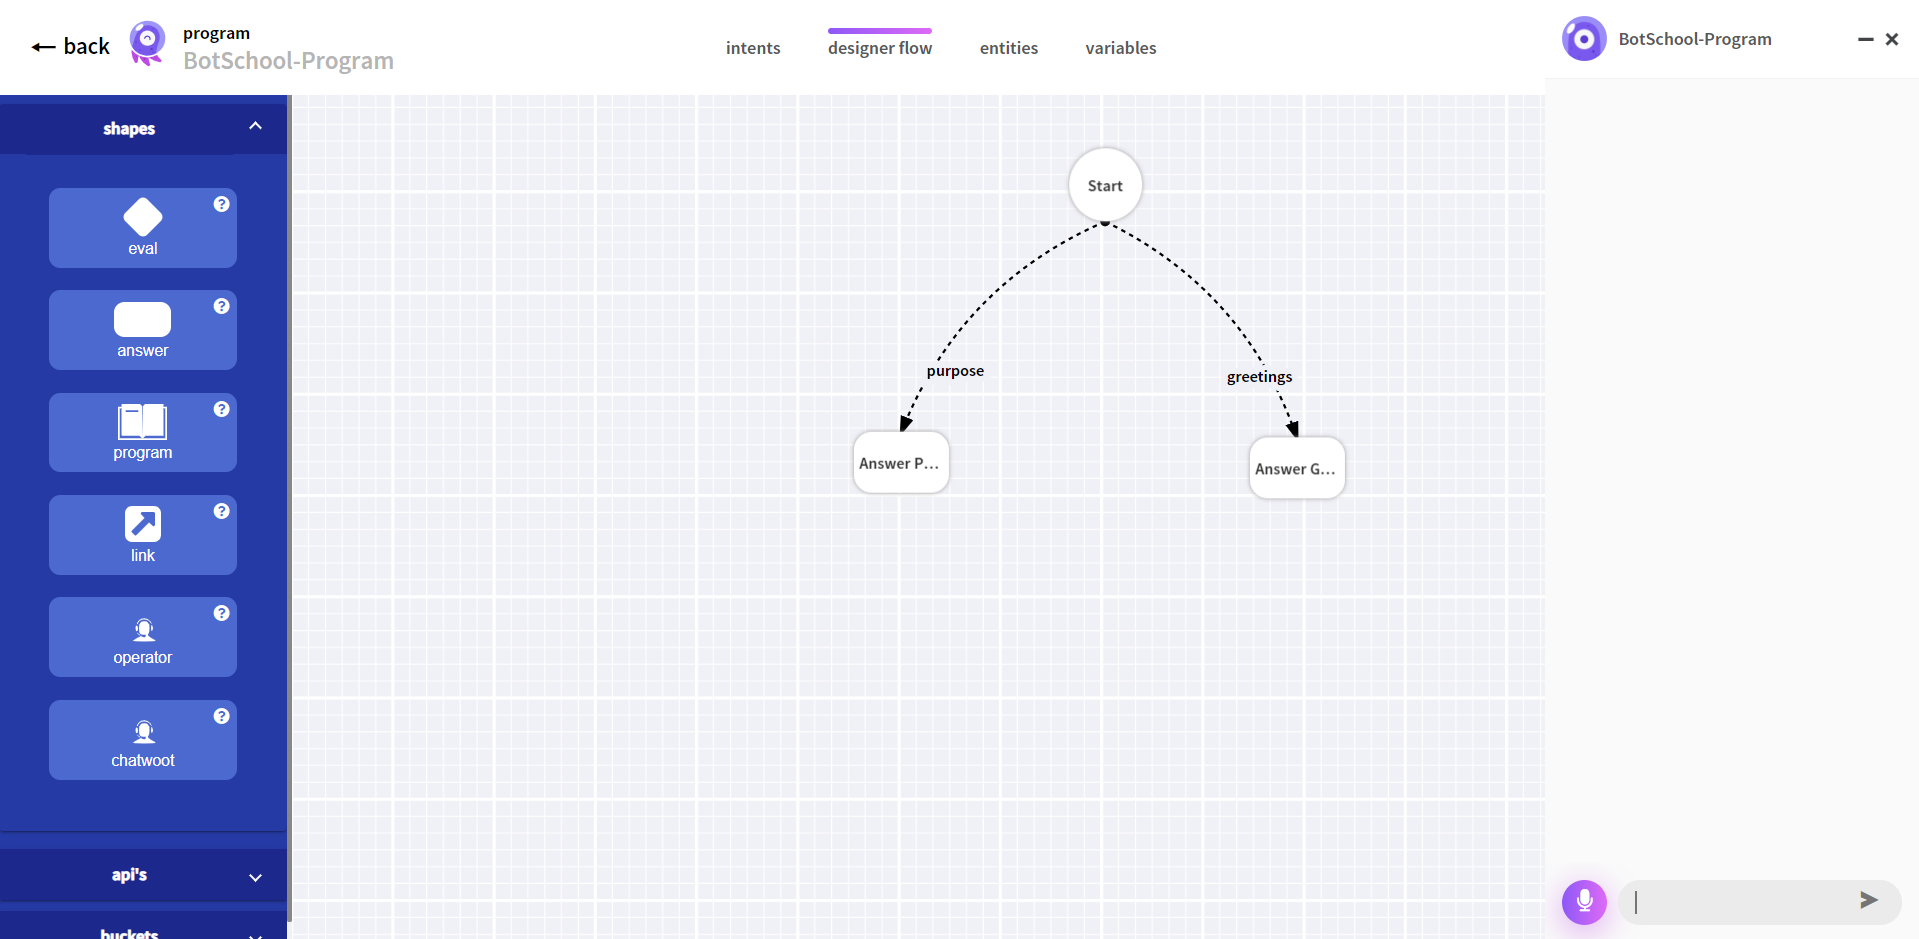
Type in some greeting sentence, such as good morning (one of the training phrases defined earlier).
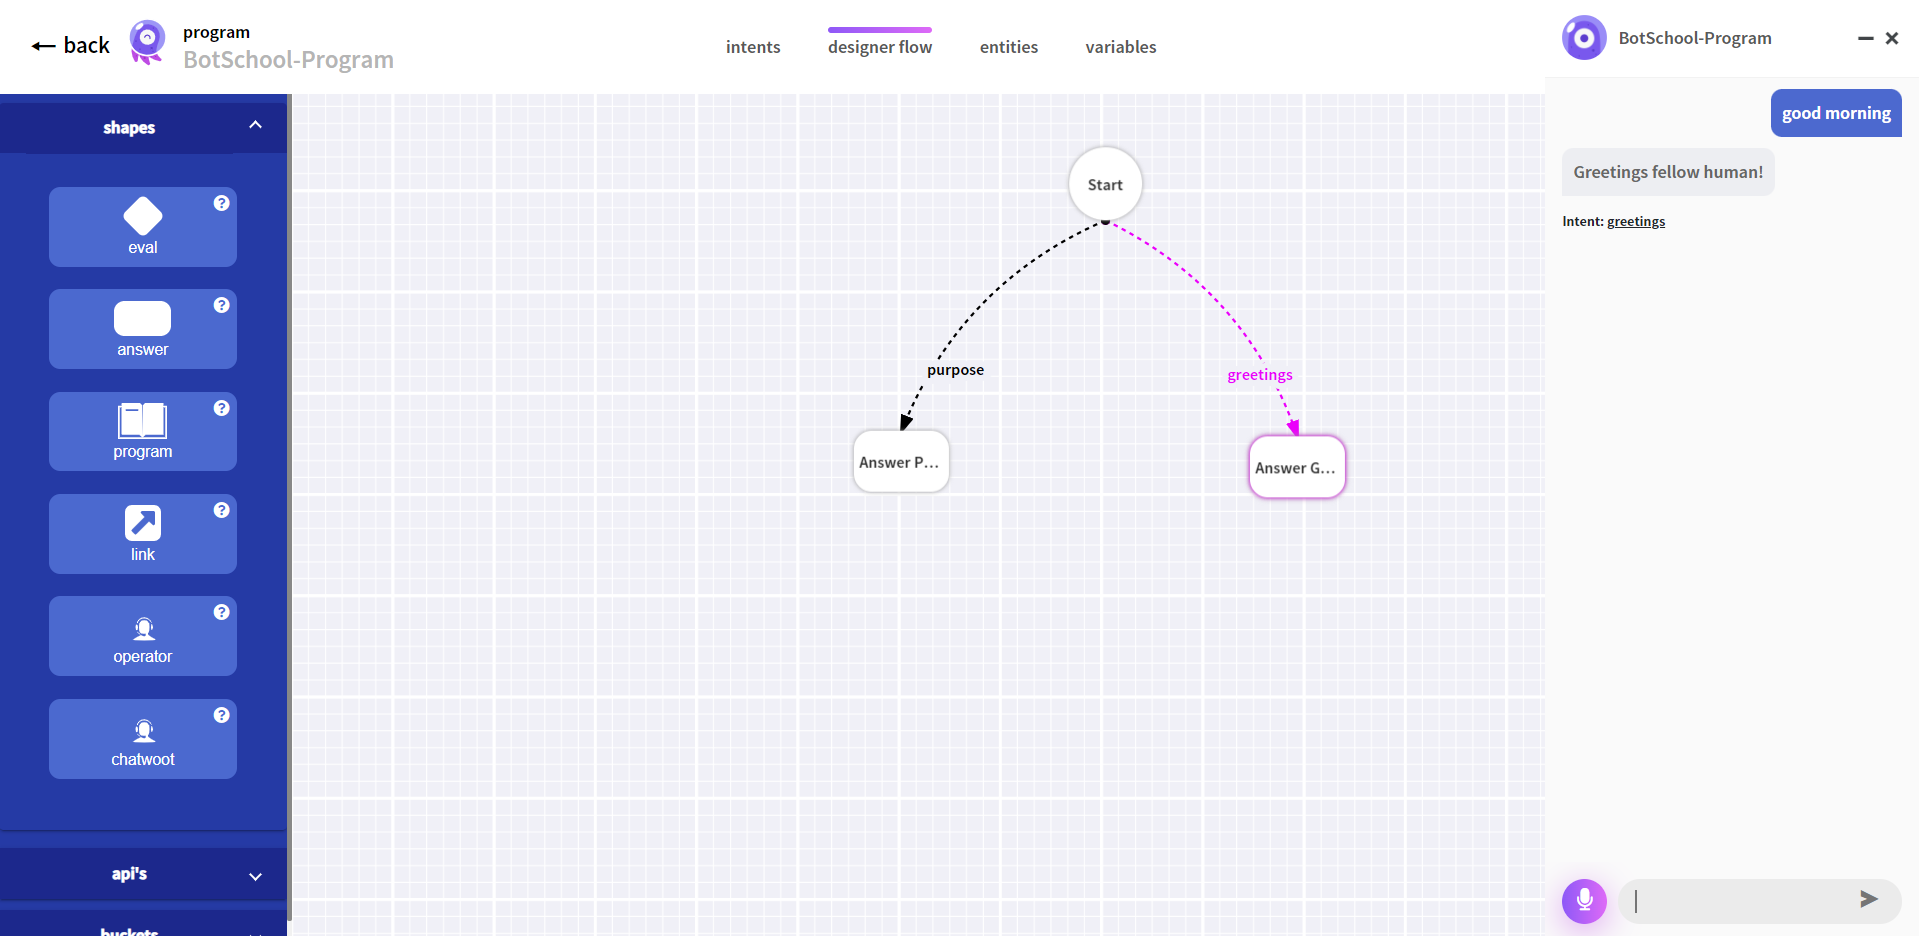
Notice that the answer provided is the configured answer. Also notice that in the Designer Flow, the path followed from the start to the Answer Greetings, via the identified greetings Intent, are all highlighted:
Now type another phrase: what answers can you provide?
Notice that this question isn’t a training phrase for the purpose Intent. Nonetheless the correct intent was selected. This is the power of Artificial Intelligence Virtual Assistants!
Now that you have learned the basics of how to draw a conversation flow, try to improve this program with new intents and new answers.
When comfortable with Program content creation, it’s time to learn how to teach it to a BOT Student. But before we can teach this Program to any Bot Student, it is necessary to publish it from the Designer Flow tab.
Programs, are like books, they need to be published so that Bot Students can use them.
FAQs Programs
In the screen, it will be shown an empty table.

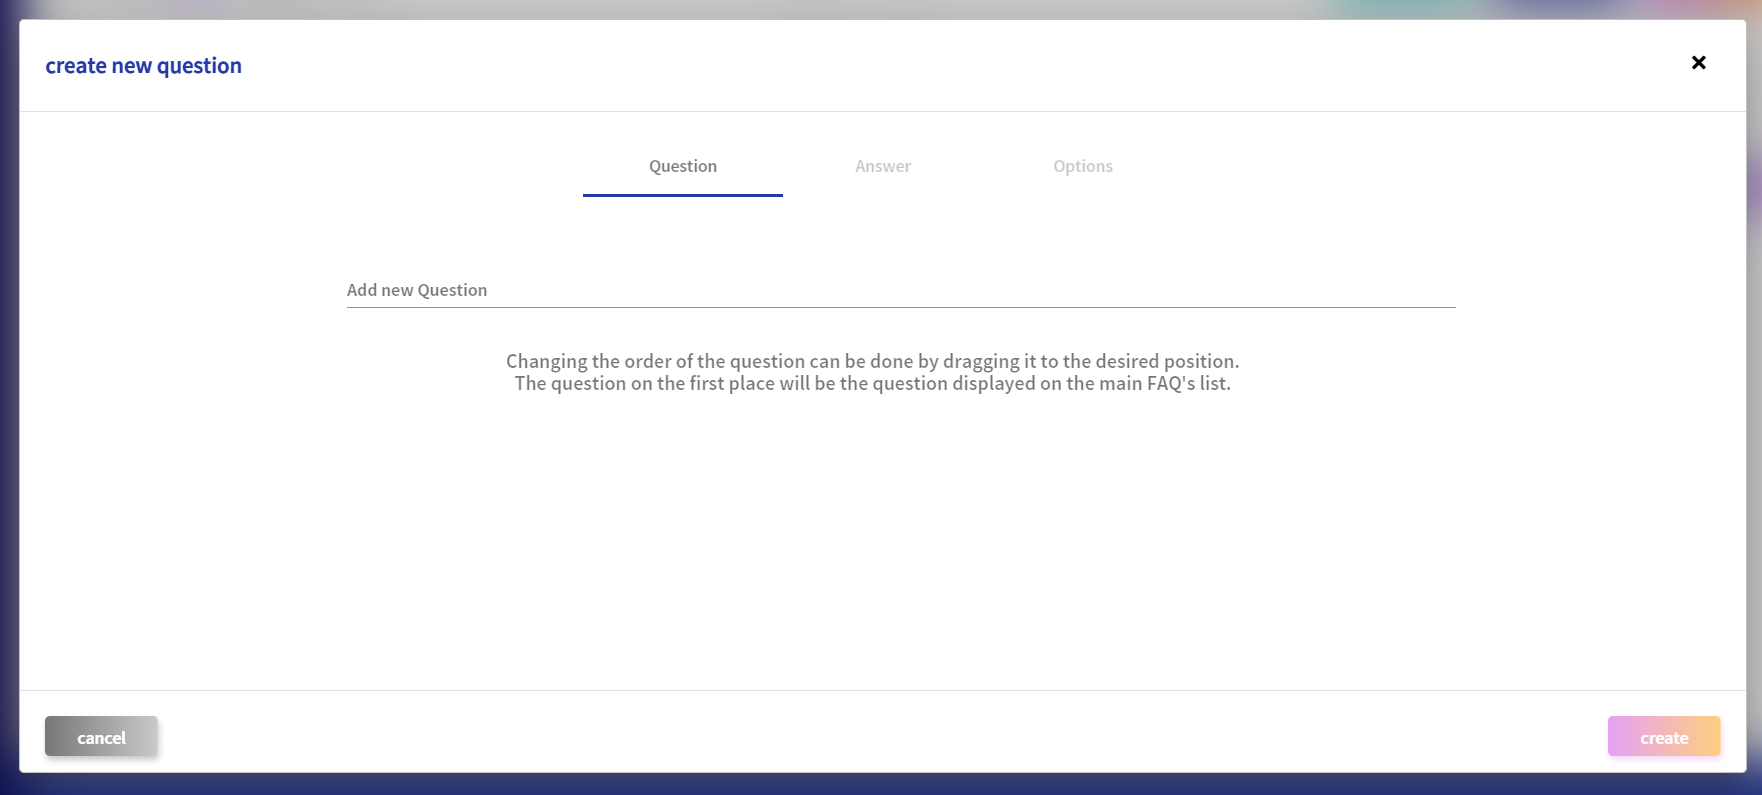
You can create a new FAQ:
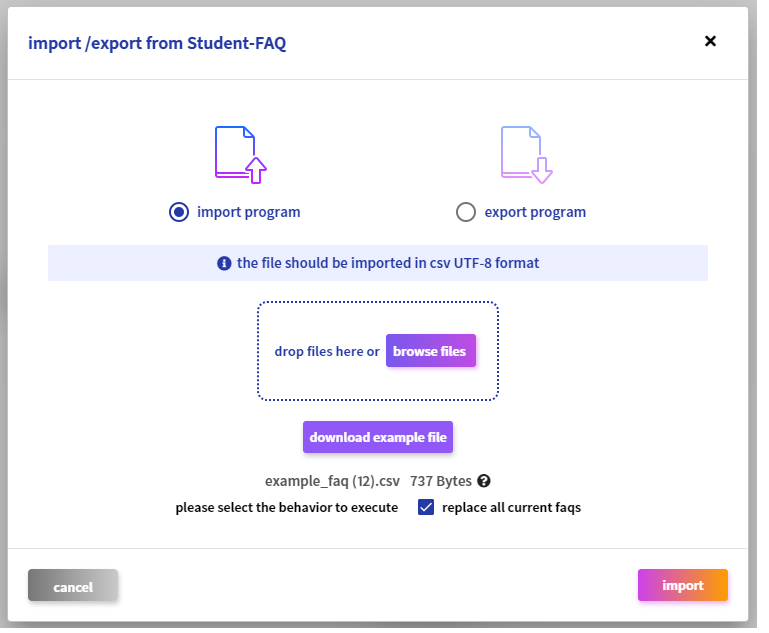
or you can upload a .csv in UTF-8 format file with the FAQ dataset.
Then, on the FAQ list, all the questions are shown.
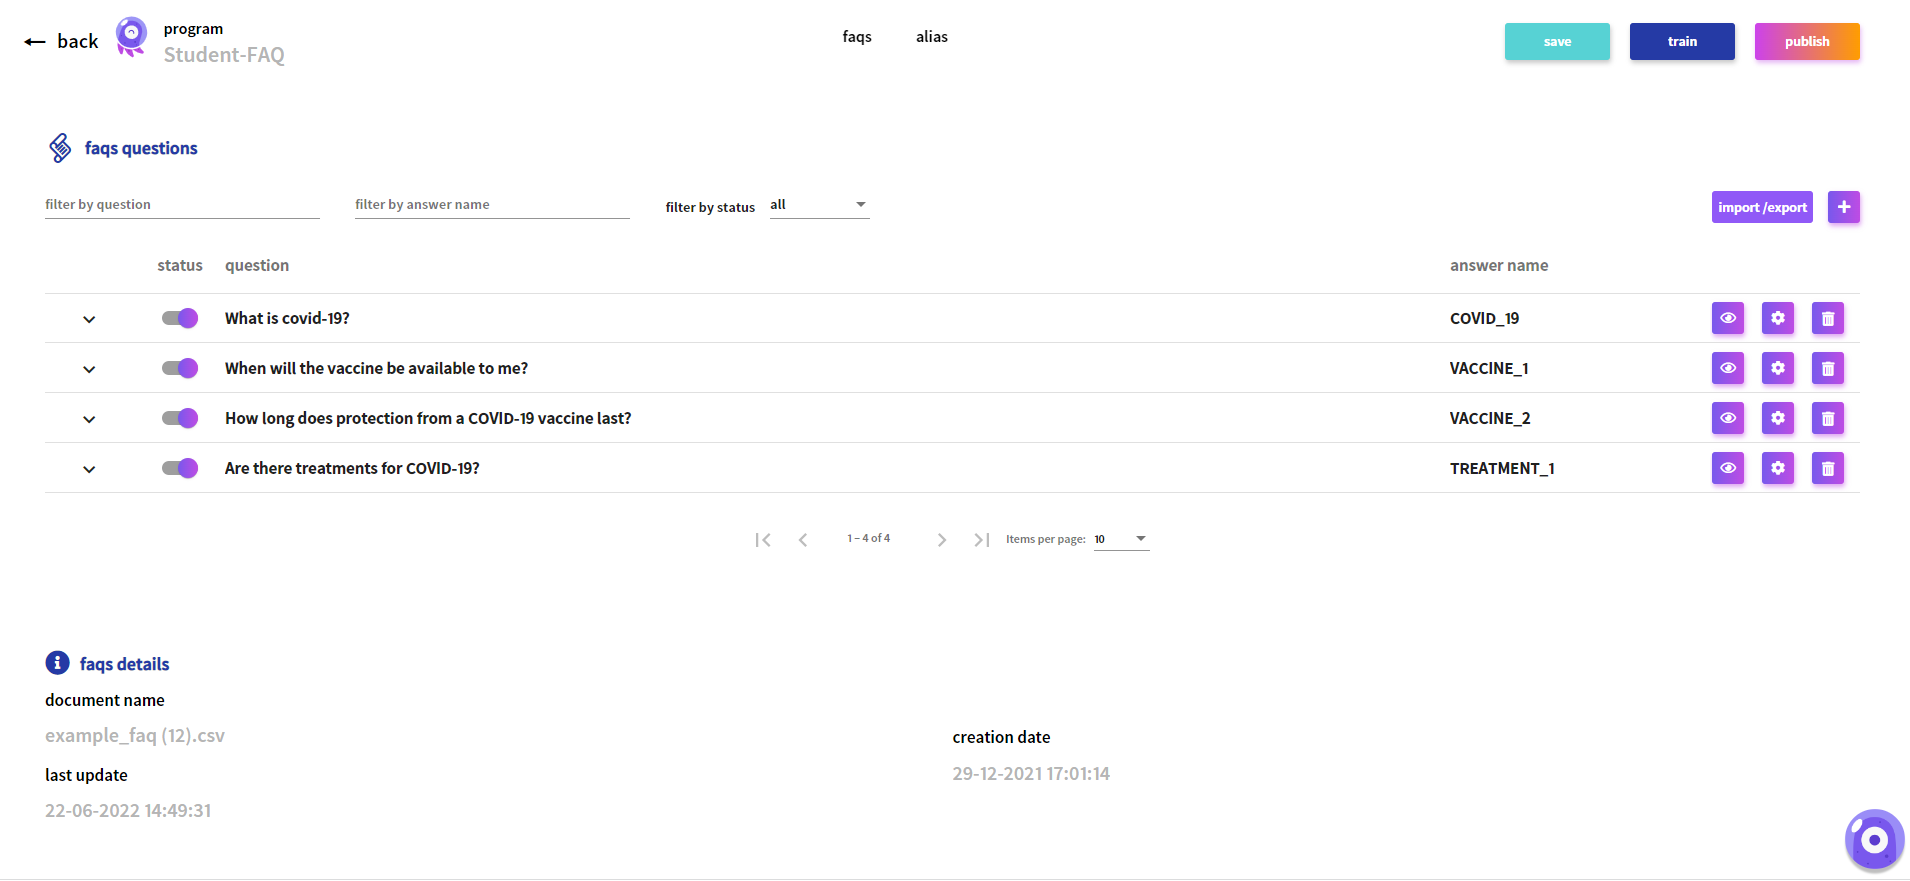
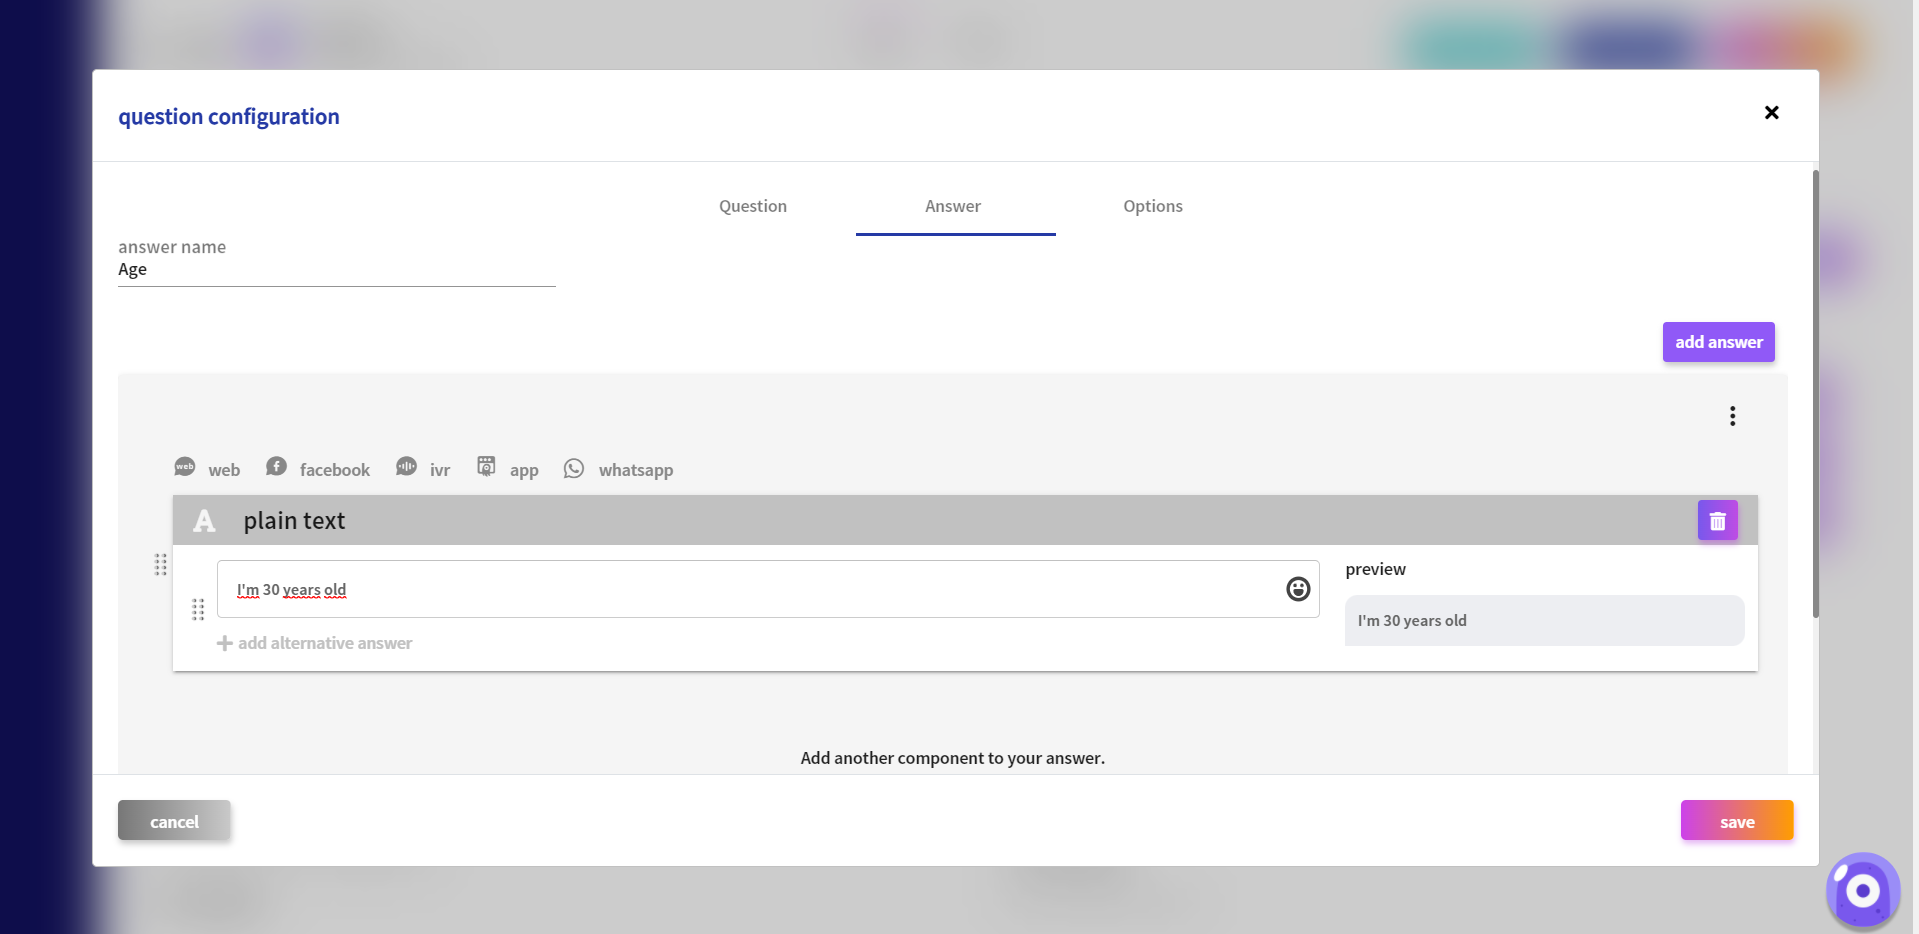
By selecting the edition button it is possible to format the answer.
After saving, press the Training button and Start the training.
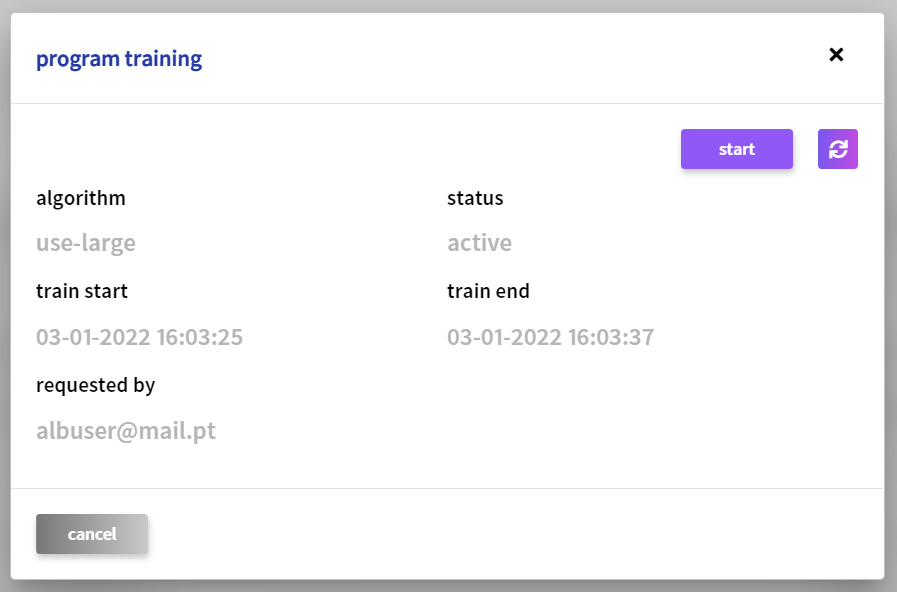
Give a few moments for the training to end and Refresh.
When the Program is trained it is ready to be tested. You can test it by using the chat element on the bottom right corner of the page.
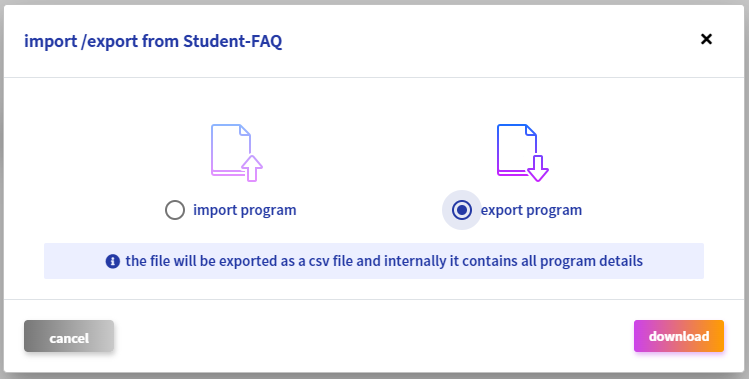
You can also export your FAQ program as an .csv file by selecting the download button
Teach a Bot Student
This section of the tutorial will guide you on how to teach a program to a Bot Student. As it was said before, students can learn multiple programs to be able to answer a multitude of subjects / questions. After selecting your student, all programs the Bot Student has access will show up in this area. Programs will be shown as available to learn, learned or unlearned, with the learn and unlearn operations available according to their state.
It is in this screen that users can control the Bot Student knowledge (by mixing different programs) and create a Bot Student able of provide all the answers needed.
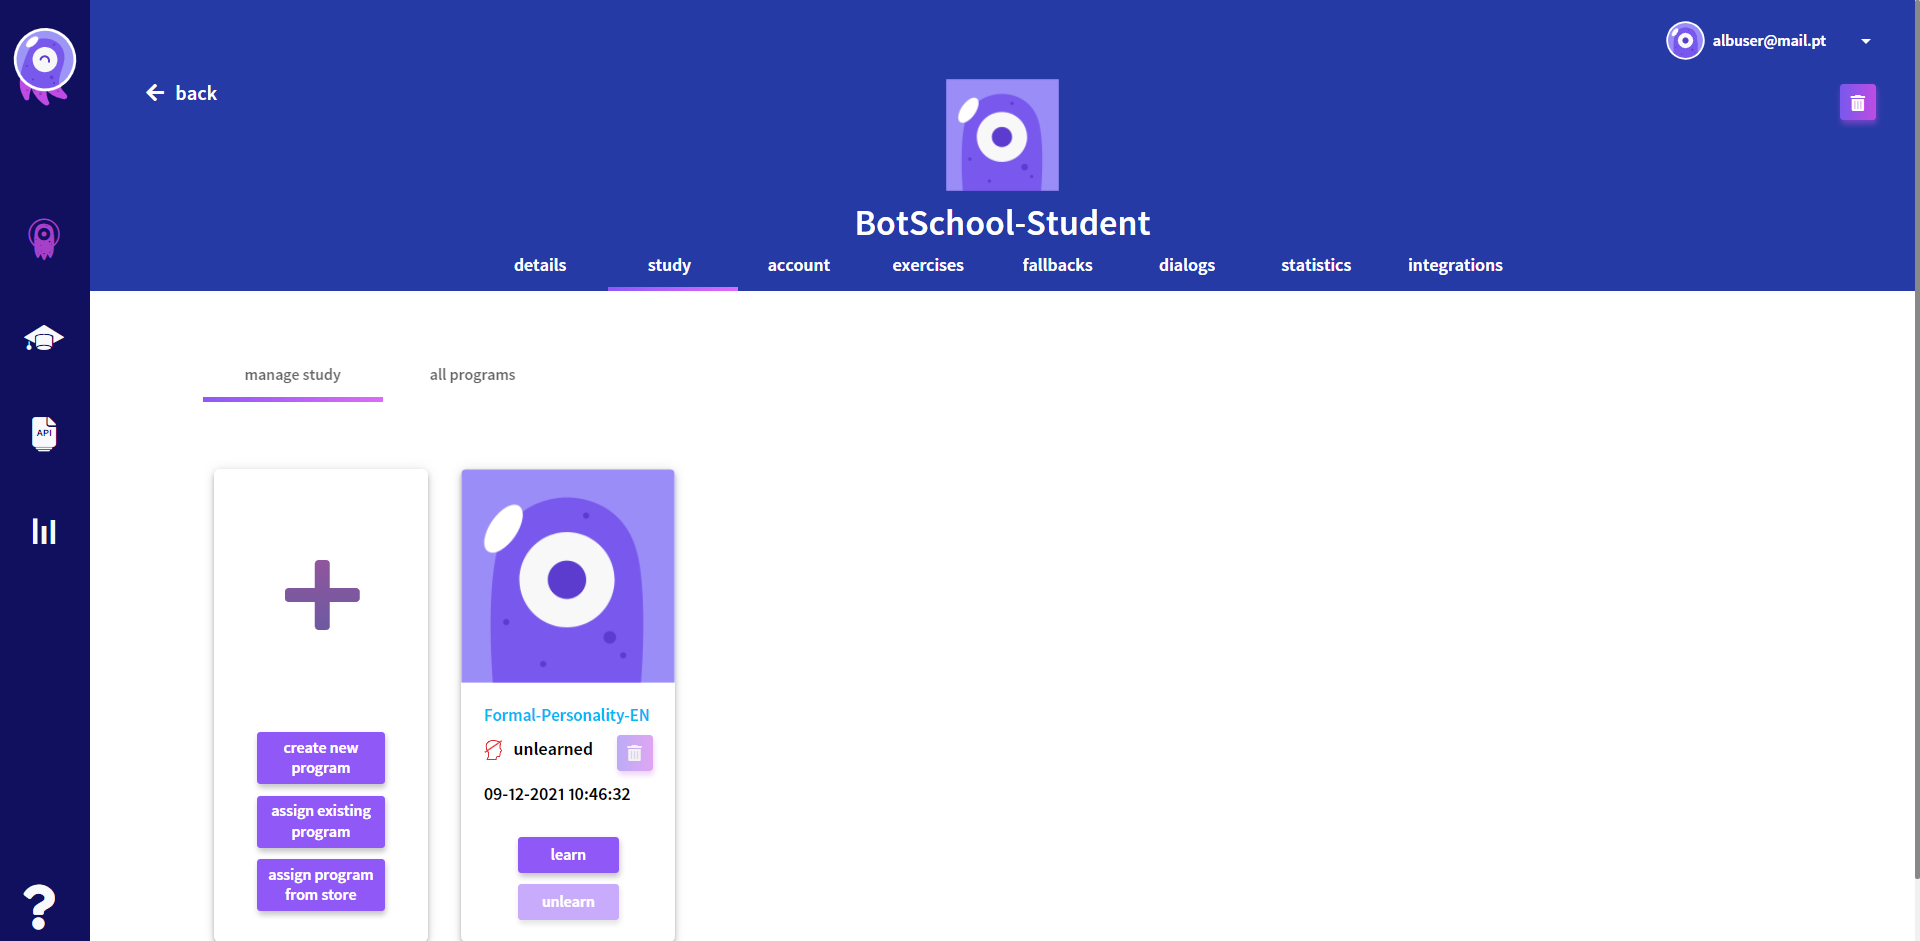
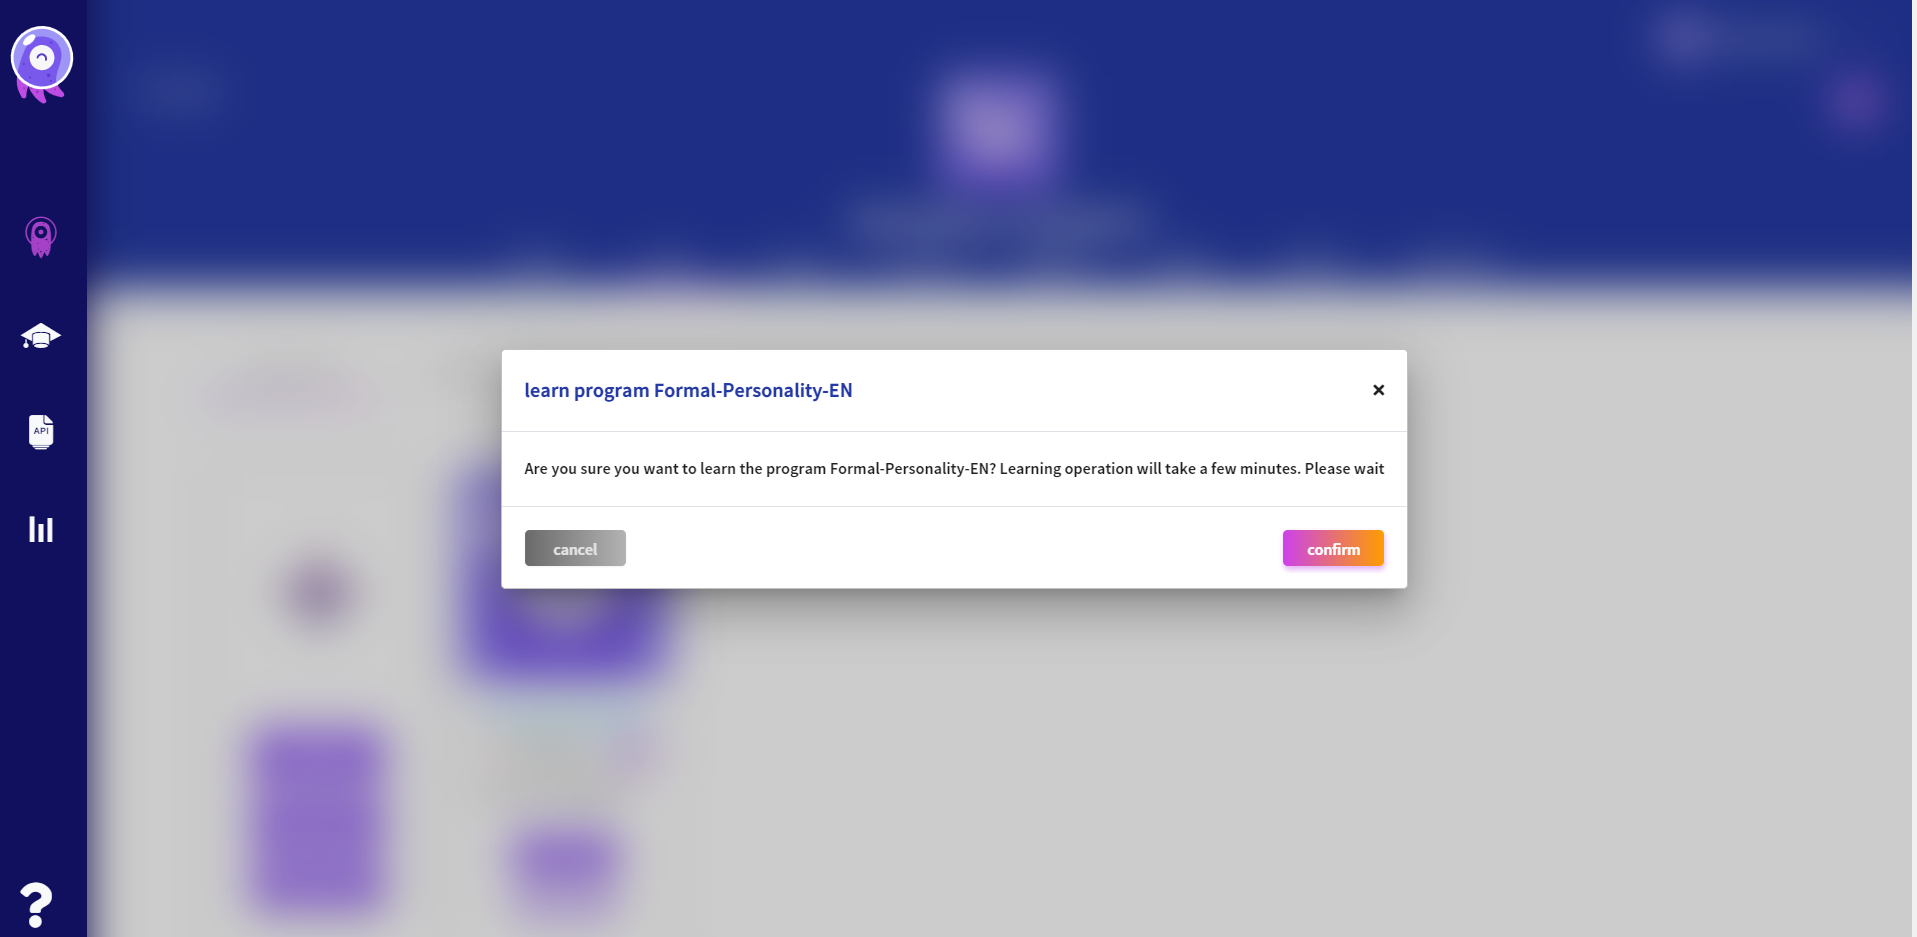
To teach the student, click learn and a confirmation screen should pop up.
You can also create new programs in this area or assign and learn an existing one.
