Student management
Table of Contents
Student detail area is composed by several sections, which combined shows all the information about your BOT Student.
Change student’s image
BOTSchool allows you to change your student image by clicking on the current student image.

It is recommended that the uploaded image (png, jpg, jpeg) should be square in shape and at most 240 px.
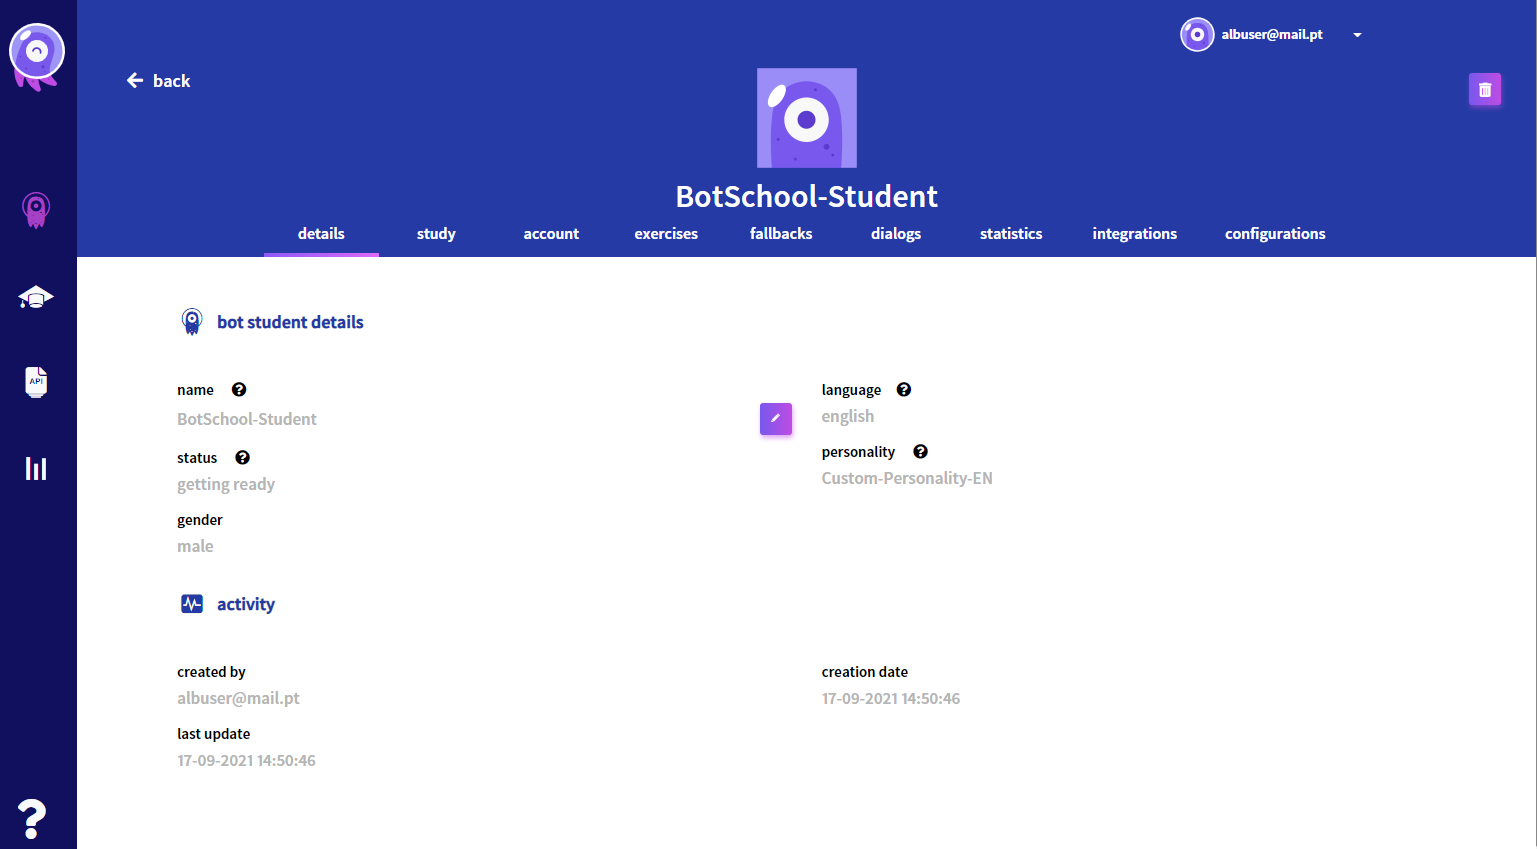
Detail
This area presents the main student’s characteristics. Here, besides presenting the main information assigned to the student, it is possible to change the Student name.
Study
On this area it is possible to manage the student knowledge. Here are shown all the Programs assigned to the Student and you can use the operations learn and unlearn to manage his knowledge. A Learned program is a skill that the Student can talk about, while an Unlearned program isn’t.
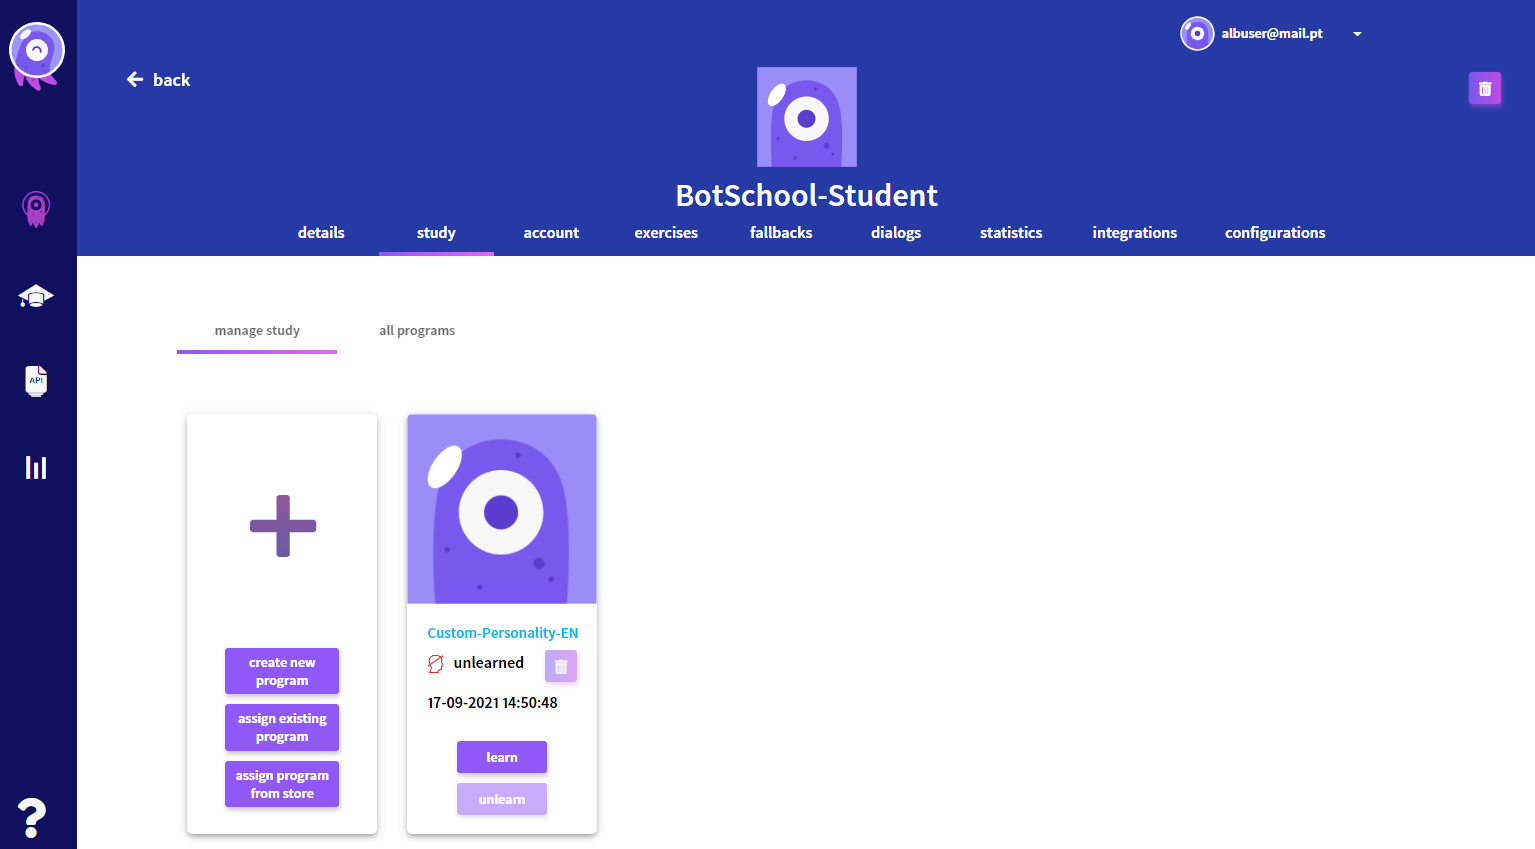
A student can simultaneously have more than one program learned. This means that the Student is able to talk about all the learned programs.
Account
On Account area it should be selected the subscription plan desired.
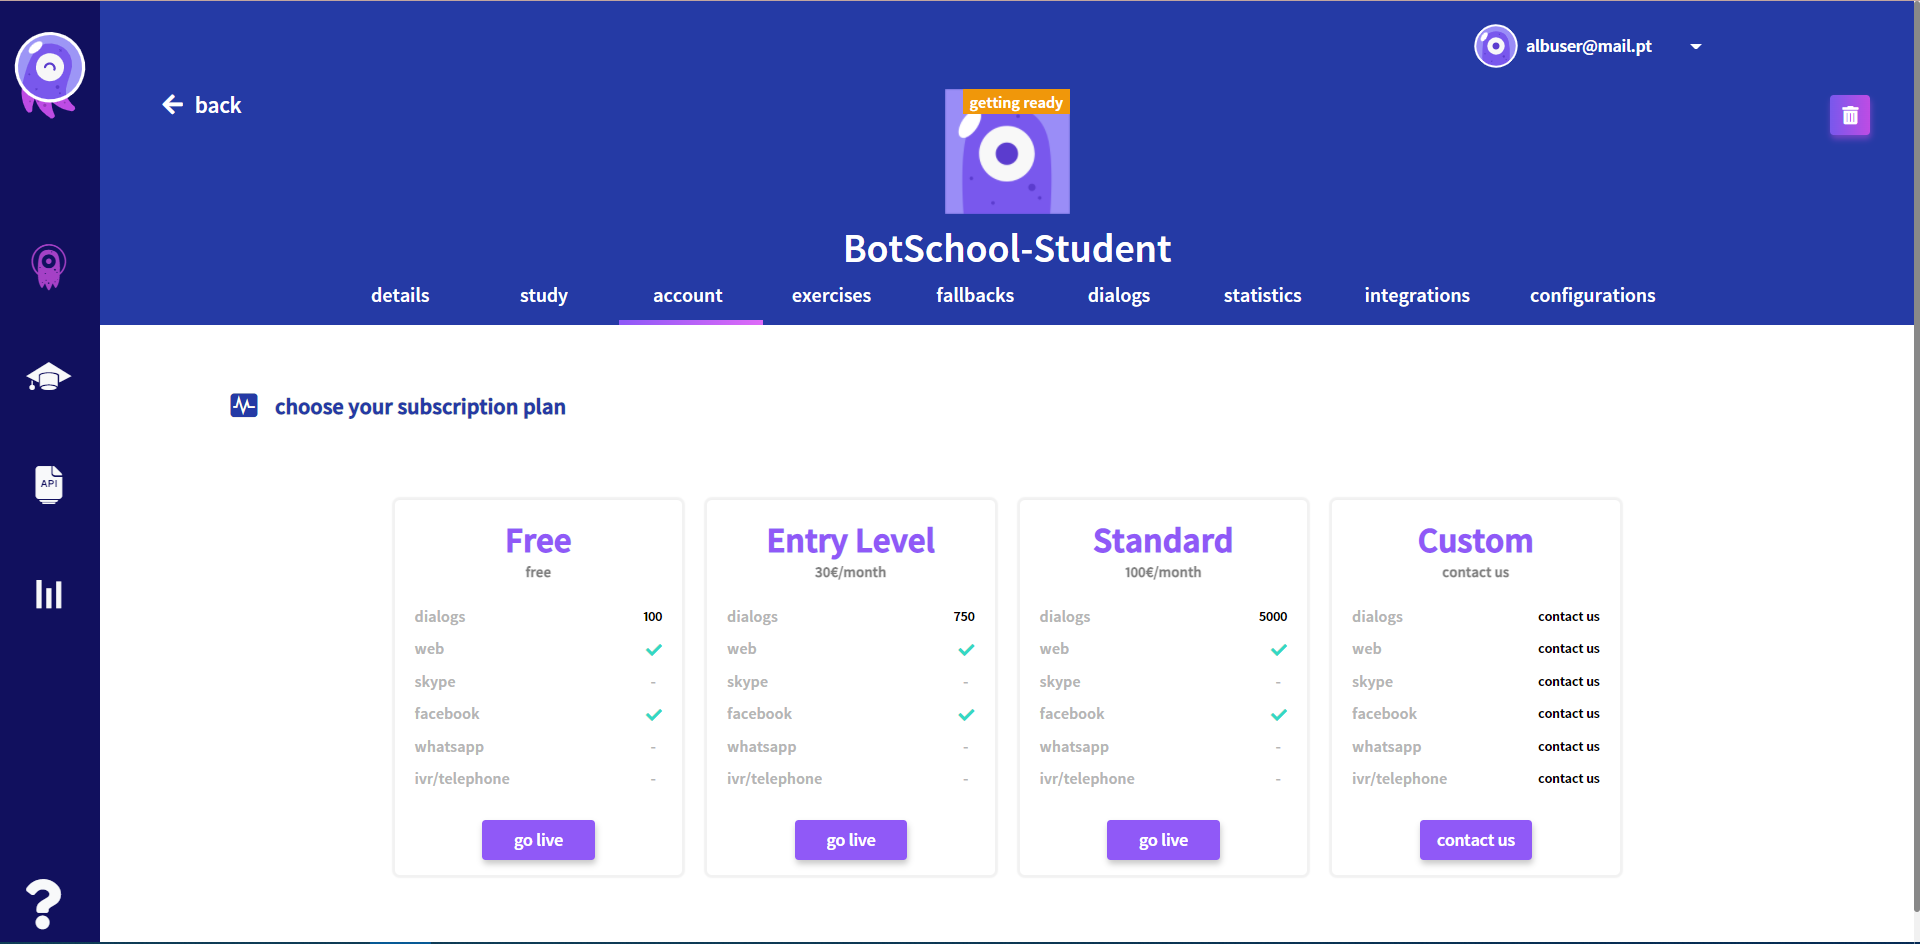
Then you should have a customer responsible for the bot payment. You can create a new customer by filling the form with the customer data or by selecting an existing one.
After selecting a customer, you should associate a credit card for payment.
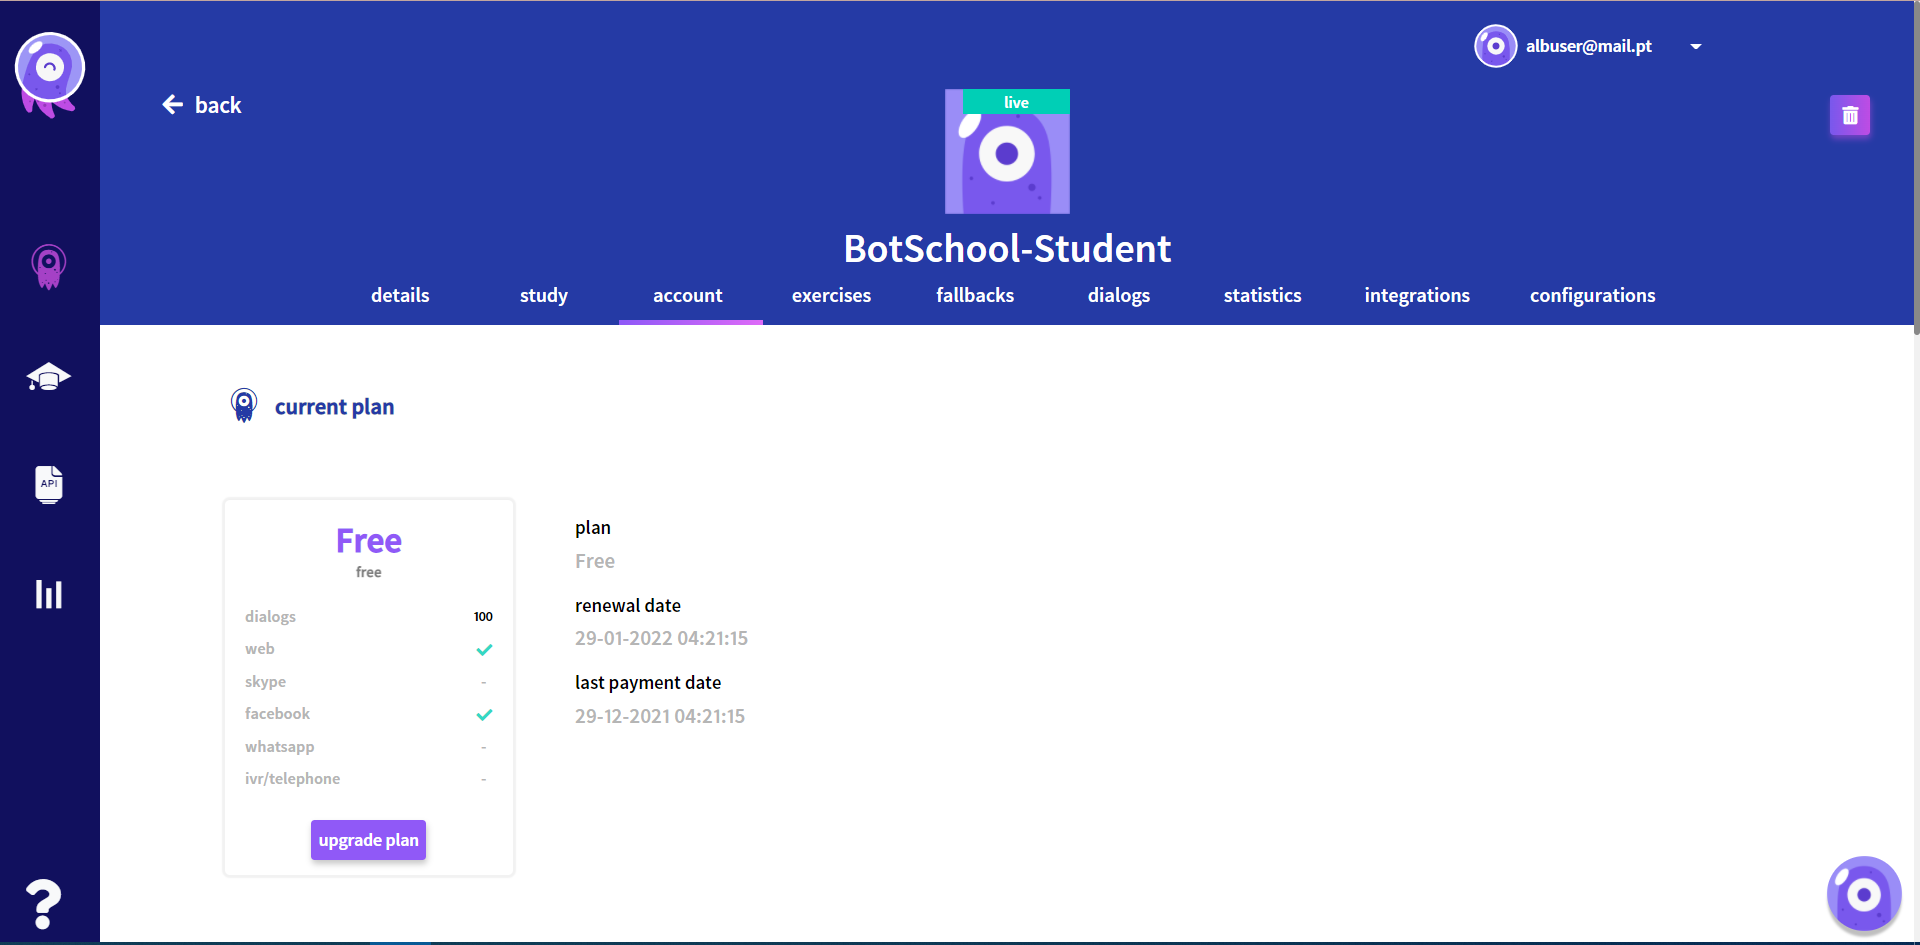
You must subscribe a plan for your Student to be Live (ready to use). Then, this area will present you the information related to your subscription.
-
- current plan - Information about the currently subscribed plan for the Student, including the renewal date and the last payment date.
-
- usage - Presents by chart, by table on in summary mode the total of iterations the student made.
-
- customer information - Presents the customer information associated to the student subscription payment.
-
- payment information - Presents generic information about the credit card associated for the student subscription payment.
Exercises
Exercises or tests are used to ensure that a Bot Student is able to use the knowledge taught to him, by testing the answers given by the Student.
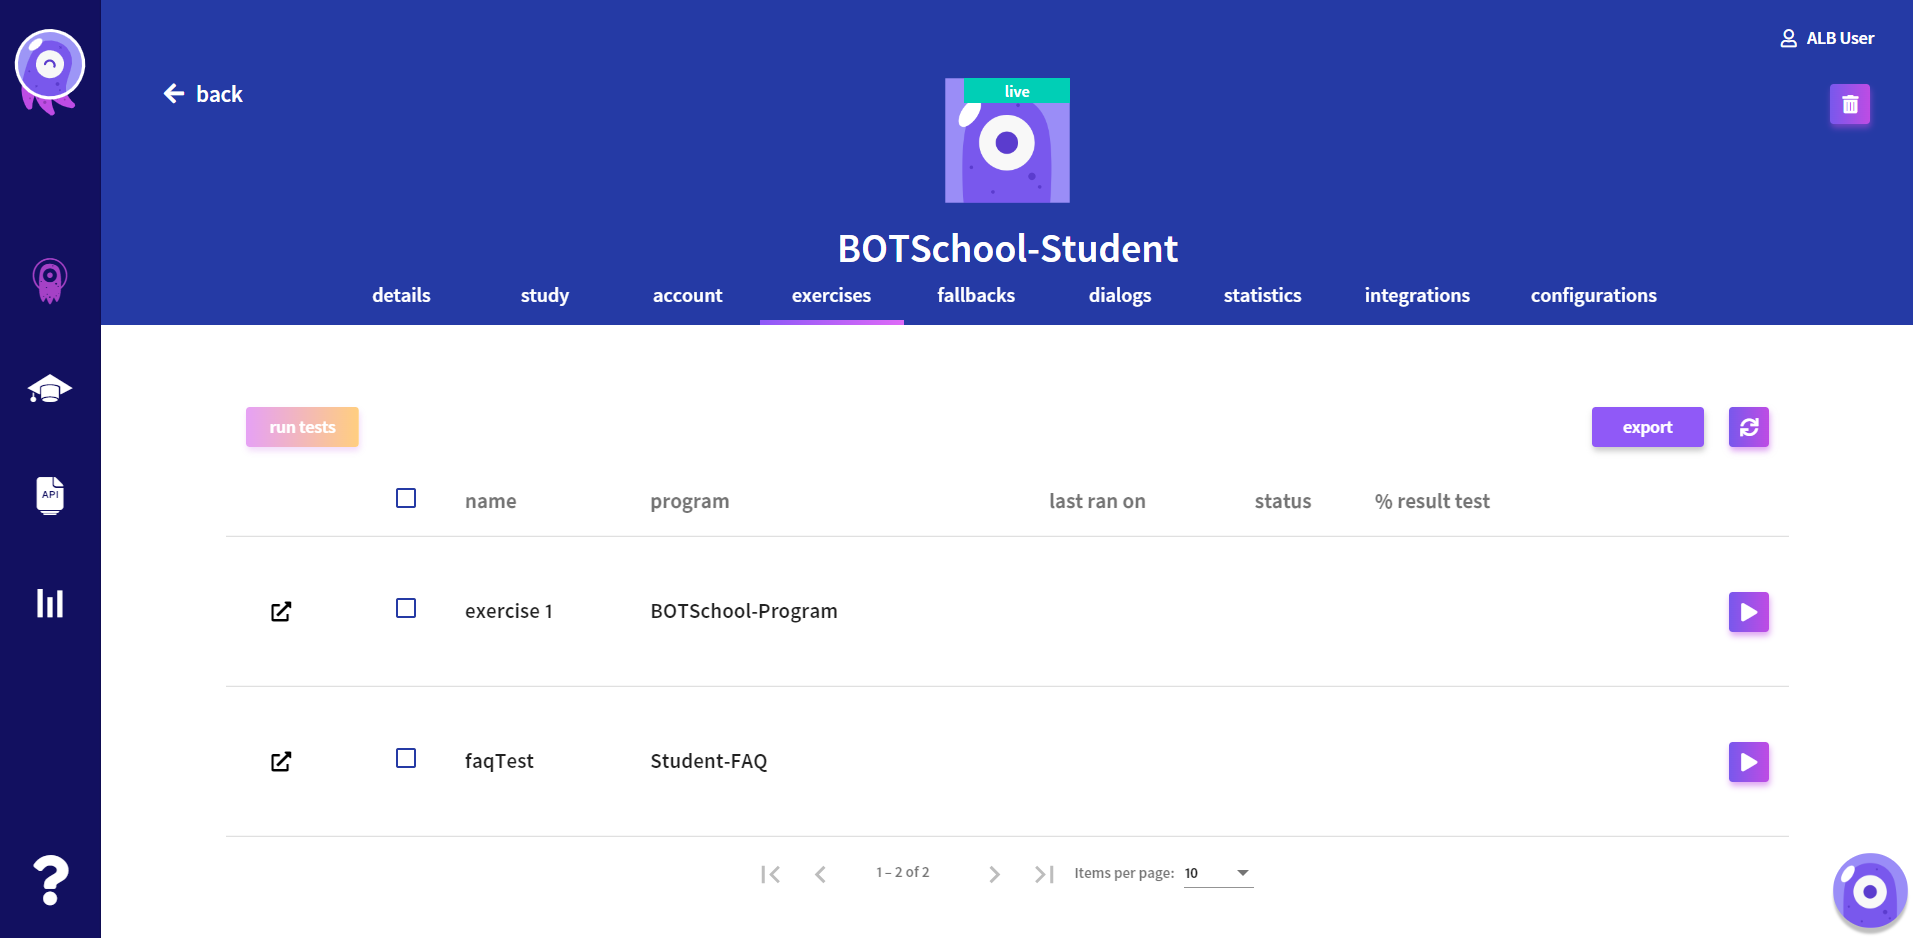
Each step has the result based on the comparison between the expected and the actual outcome (answer).
After running the tests, for each test step it is shown the result of the test (passed or failed). If the expected result doesn’t match the actual result, then the test Failed. A manual analysis can help improving the Program, whether by adding more training phrases to the intent, or by improving the conversation flow.
Fallback
Student fallback area allows to define the fallback message when the student does not understand the user sentence (the student does not find an intent that matches the user’s phrase).

It can be defined by a single message or by a list of messages. In practice, only one sentence will be said at a time. It is chosen randomly by the system.
Dialogs
All iteractions made between the user and the Student are shown on this section. It is shown information about which channel was used, as well as the intent triggered and the related “degree of certainty” of the Student to match the intent. In this table, it is also possible to analyze the tags that marked the interaction flow.
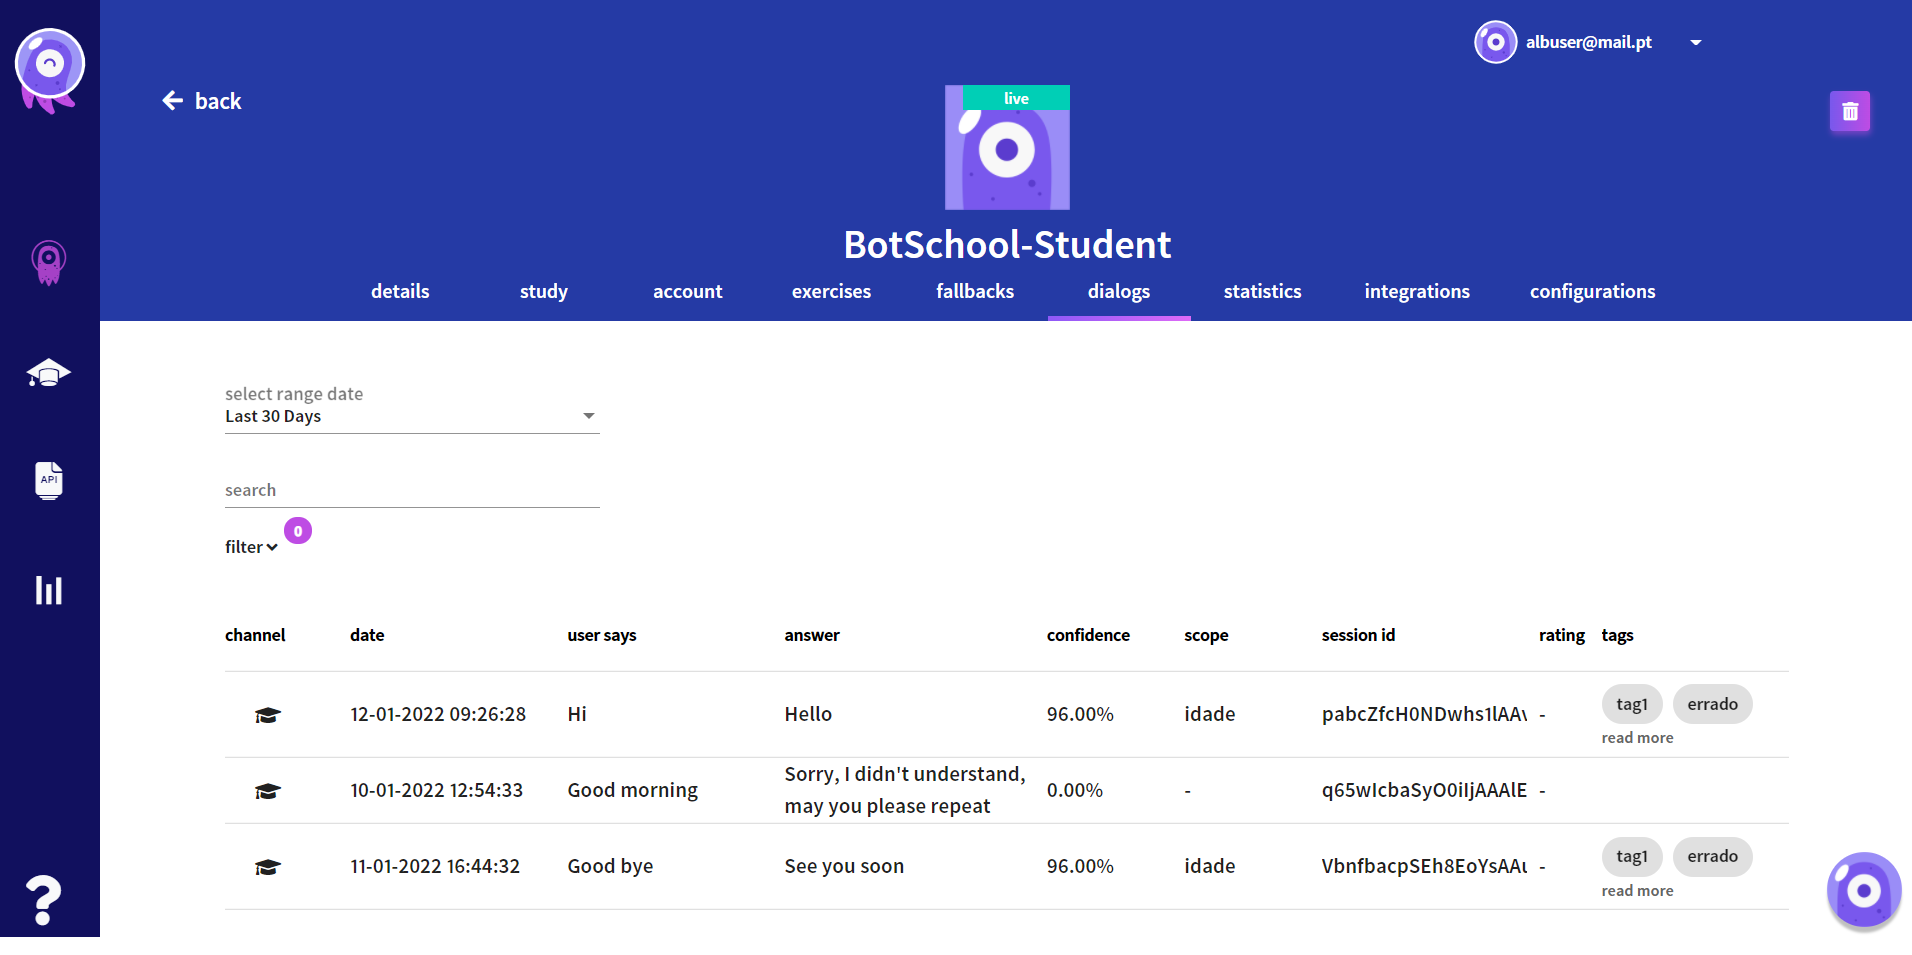
Analyzing this content from another point of view, this section also shows the phrases that failed to match the student’s knowledge (Fallbacks). If the user who manages the Student verifies that they are valid phrases, he can add this knowledge to the Student by adding (manually) these training phrases to the Program.
Statistics
Statistics area on student allows you to have an aggregated view about the student behavior (interactions with users).
Effectiveness dialog rate
This view presents the relation between the interactions with success (Student found an intent to give the answer) and with fallback (student fallback, Student didn’t understand the user’s phrase)
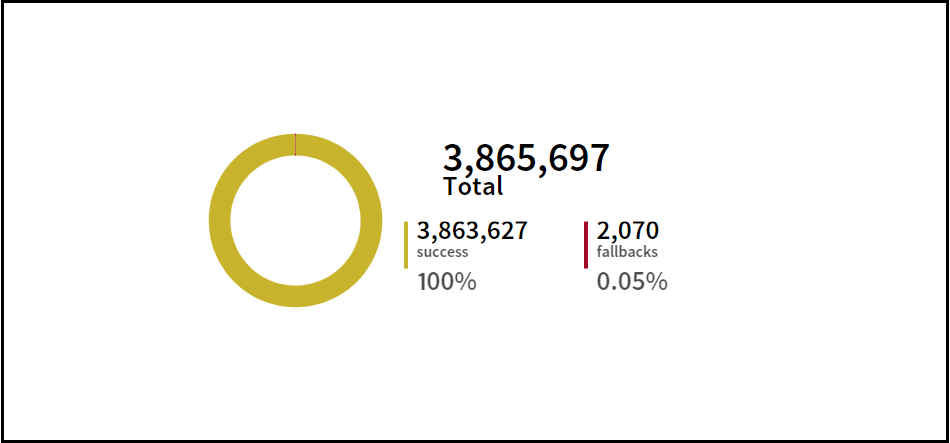
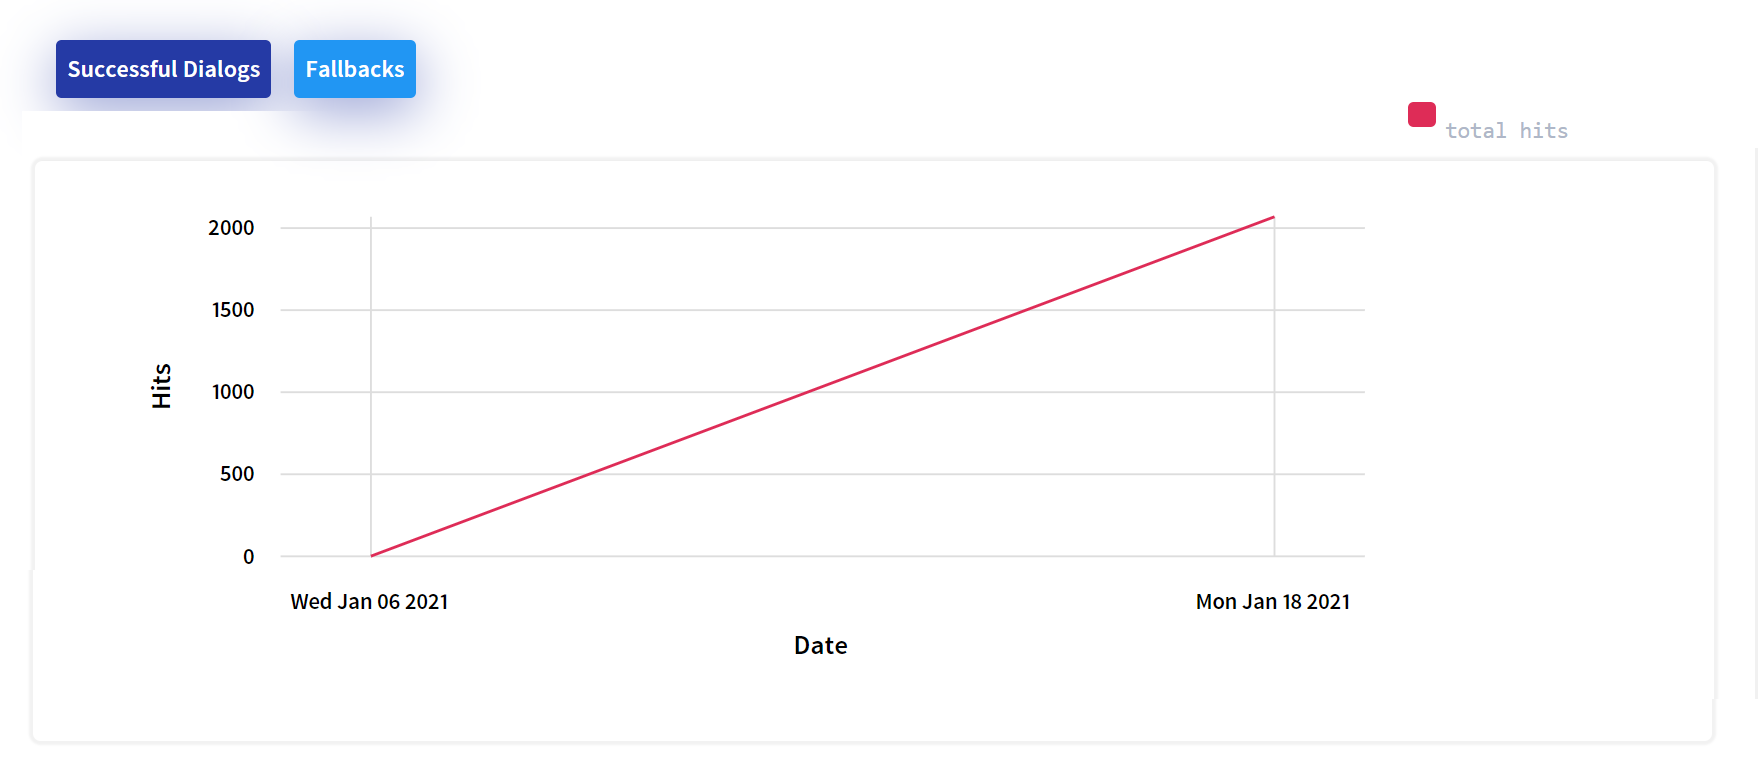
The same information can be analysed by a temporal perspective: on this case they are presented the evolution over time for Success Dialogs:
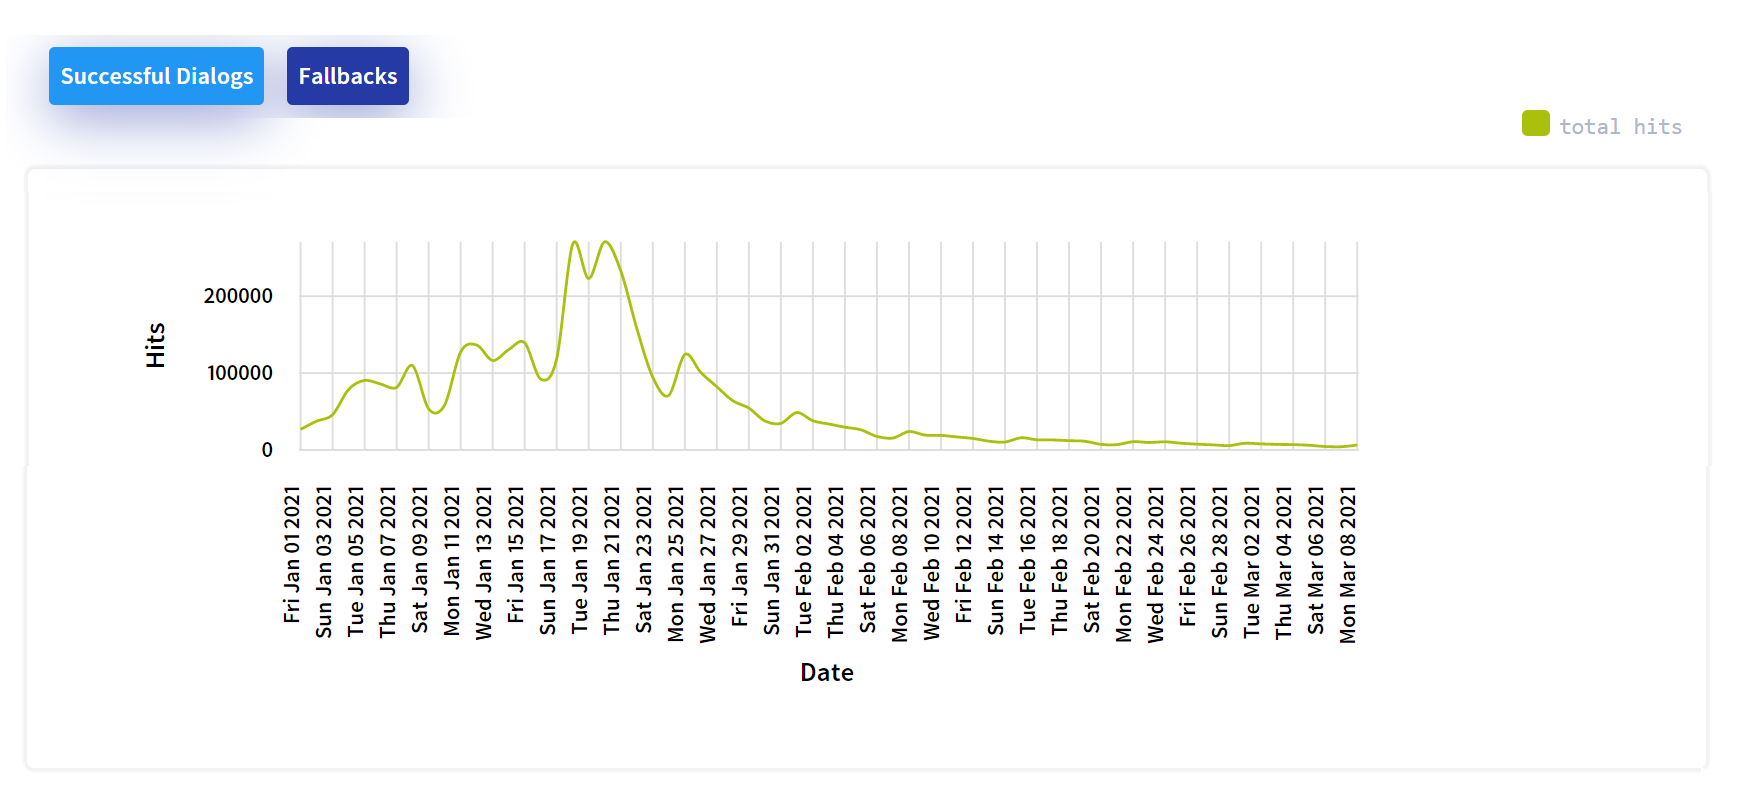
and for Fallback Dialogs:
Integrations
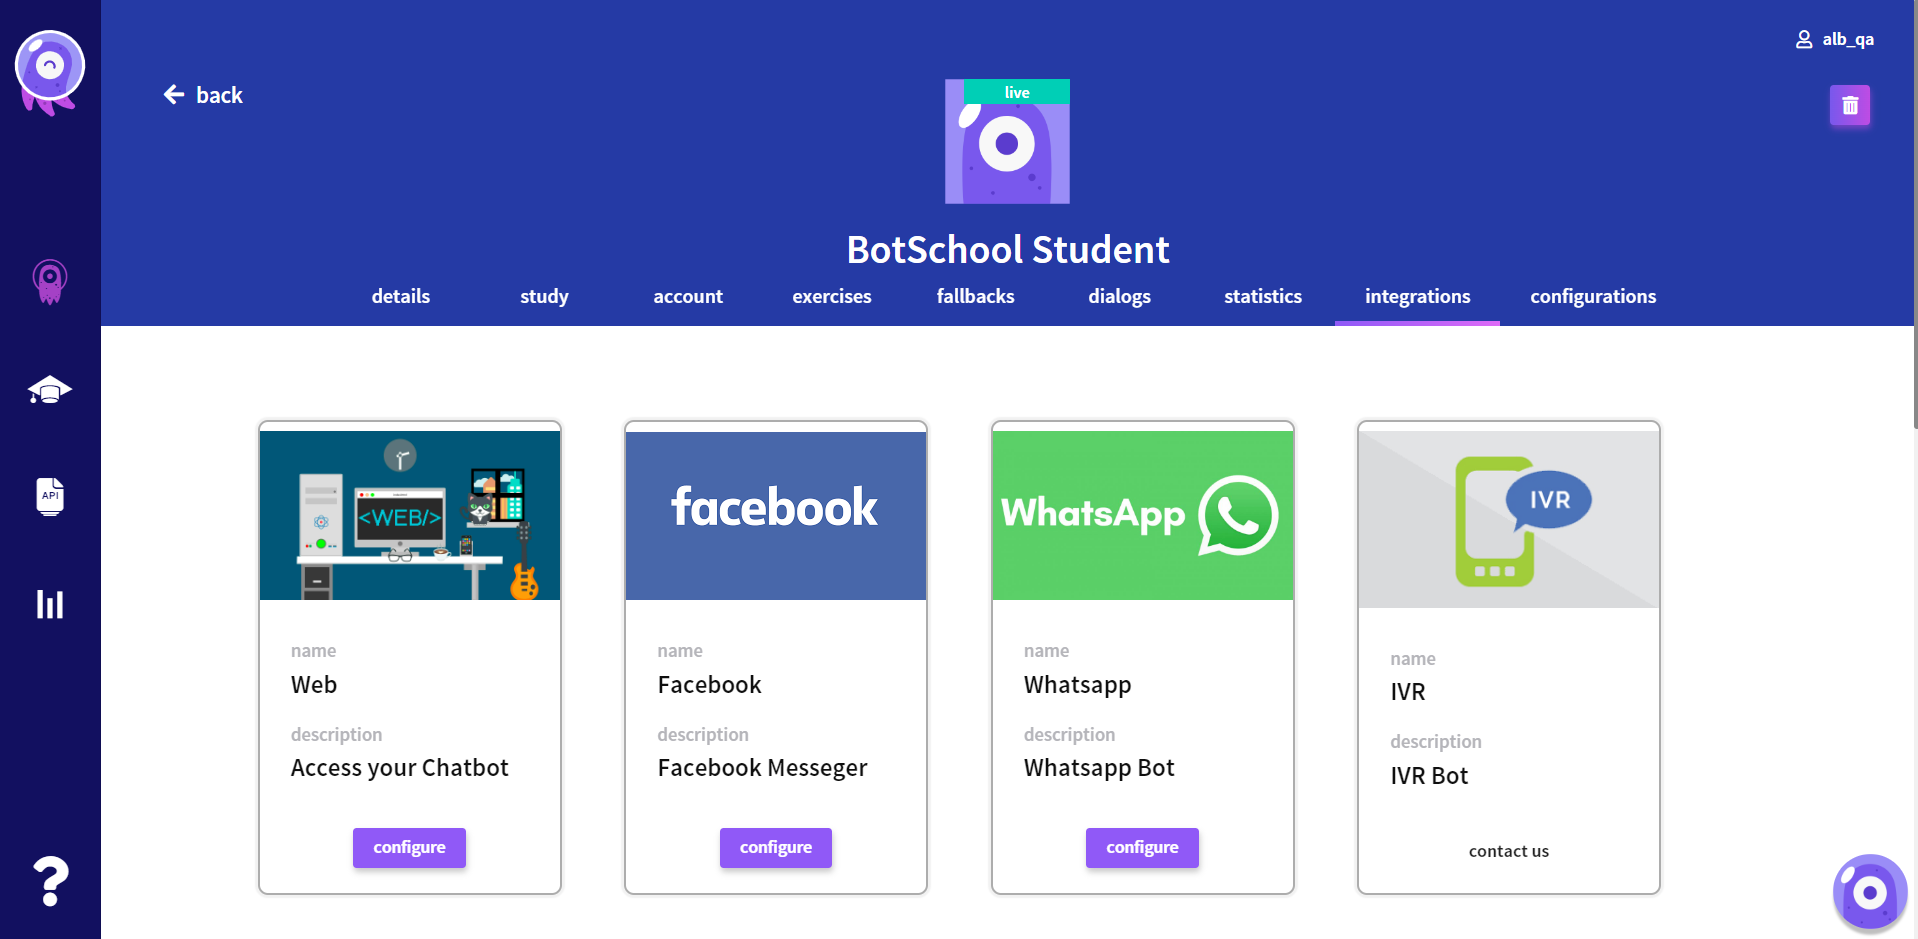
In this area you are able to integrate your BOT Student with other environments. To do that, you need to subscribe a plan first.
Web
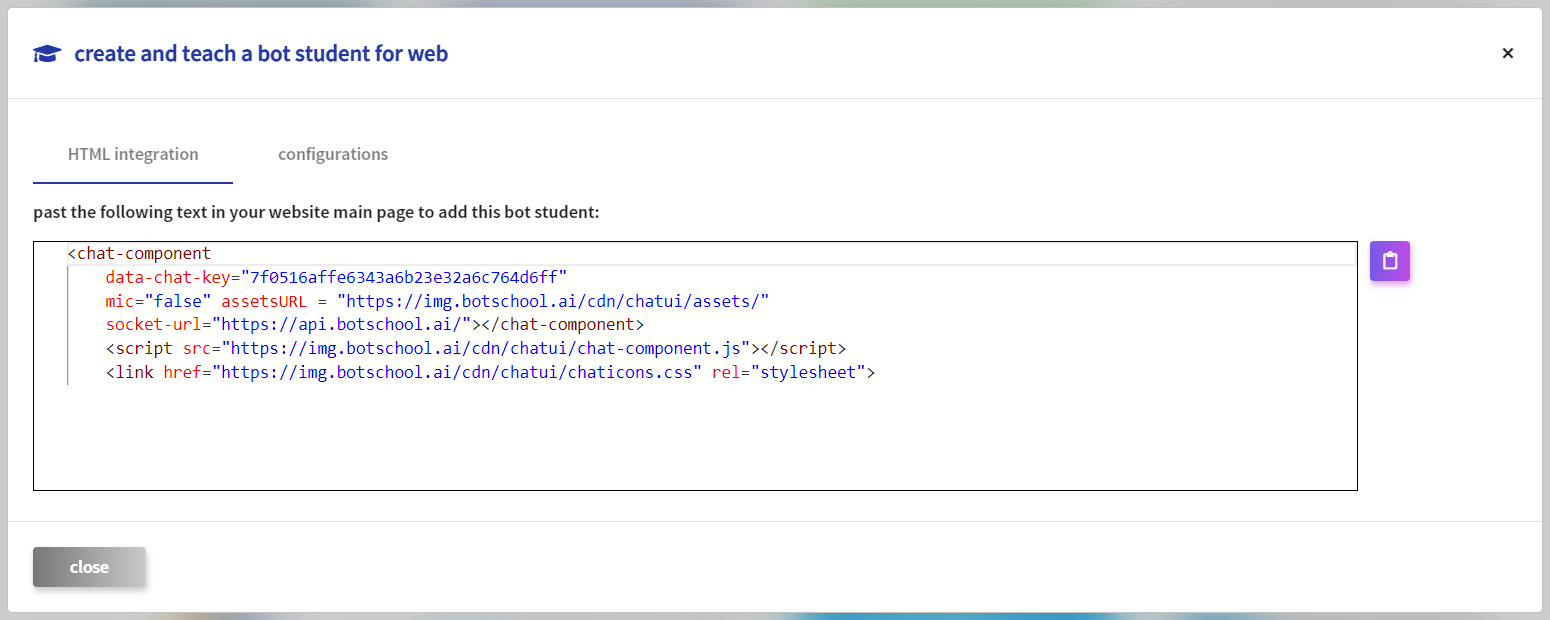
For the web channel, you have access to the chat-component tag, to integrate it into your own website.
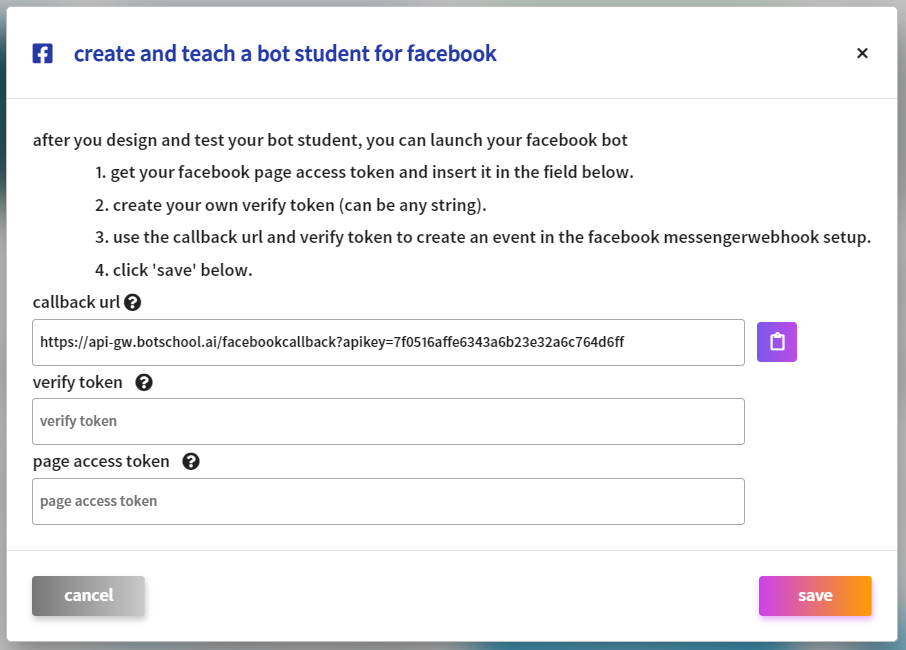
In facebook channel, you can change the settings to launch your facebook bot.
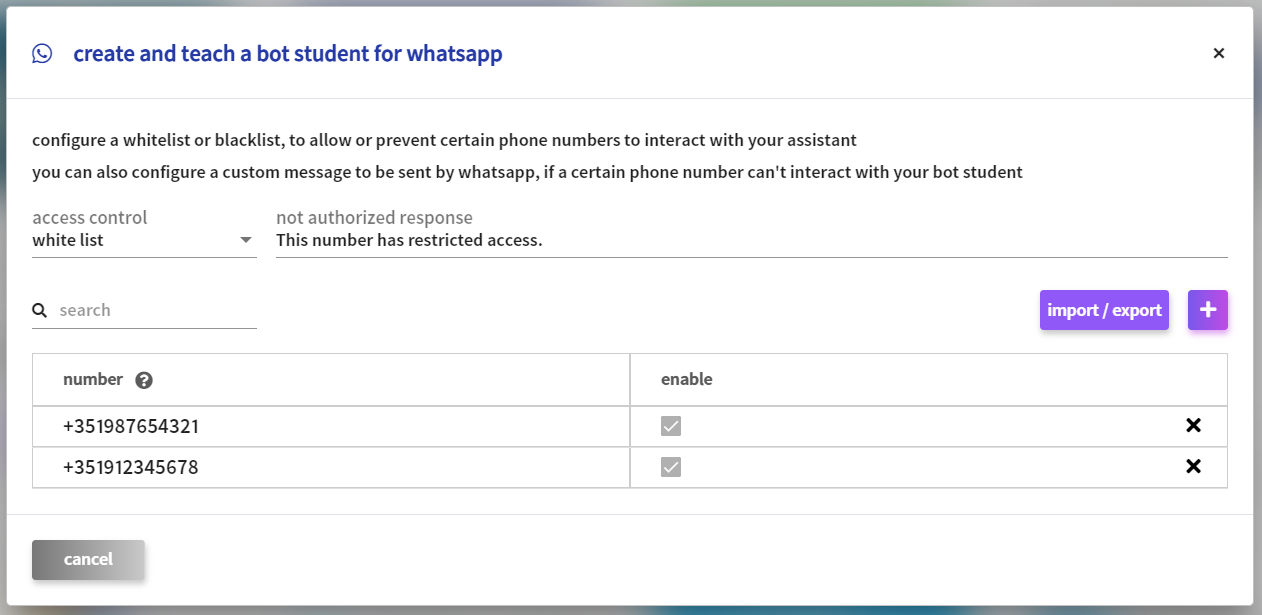
For whatsapp, you can configure a whitelist or blacklist, to allow or prevent certain phone numbers to interact with your assistant. By configuring a whitelist, all the enabled phone numbers will be allowed to interact with your assistant. If you configure a blacklist, all the enabled phone numbers will not be allowed to interact with your assistant.
Configurations
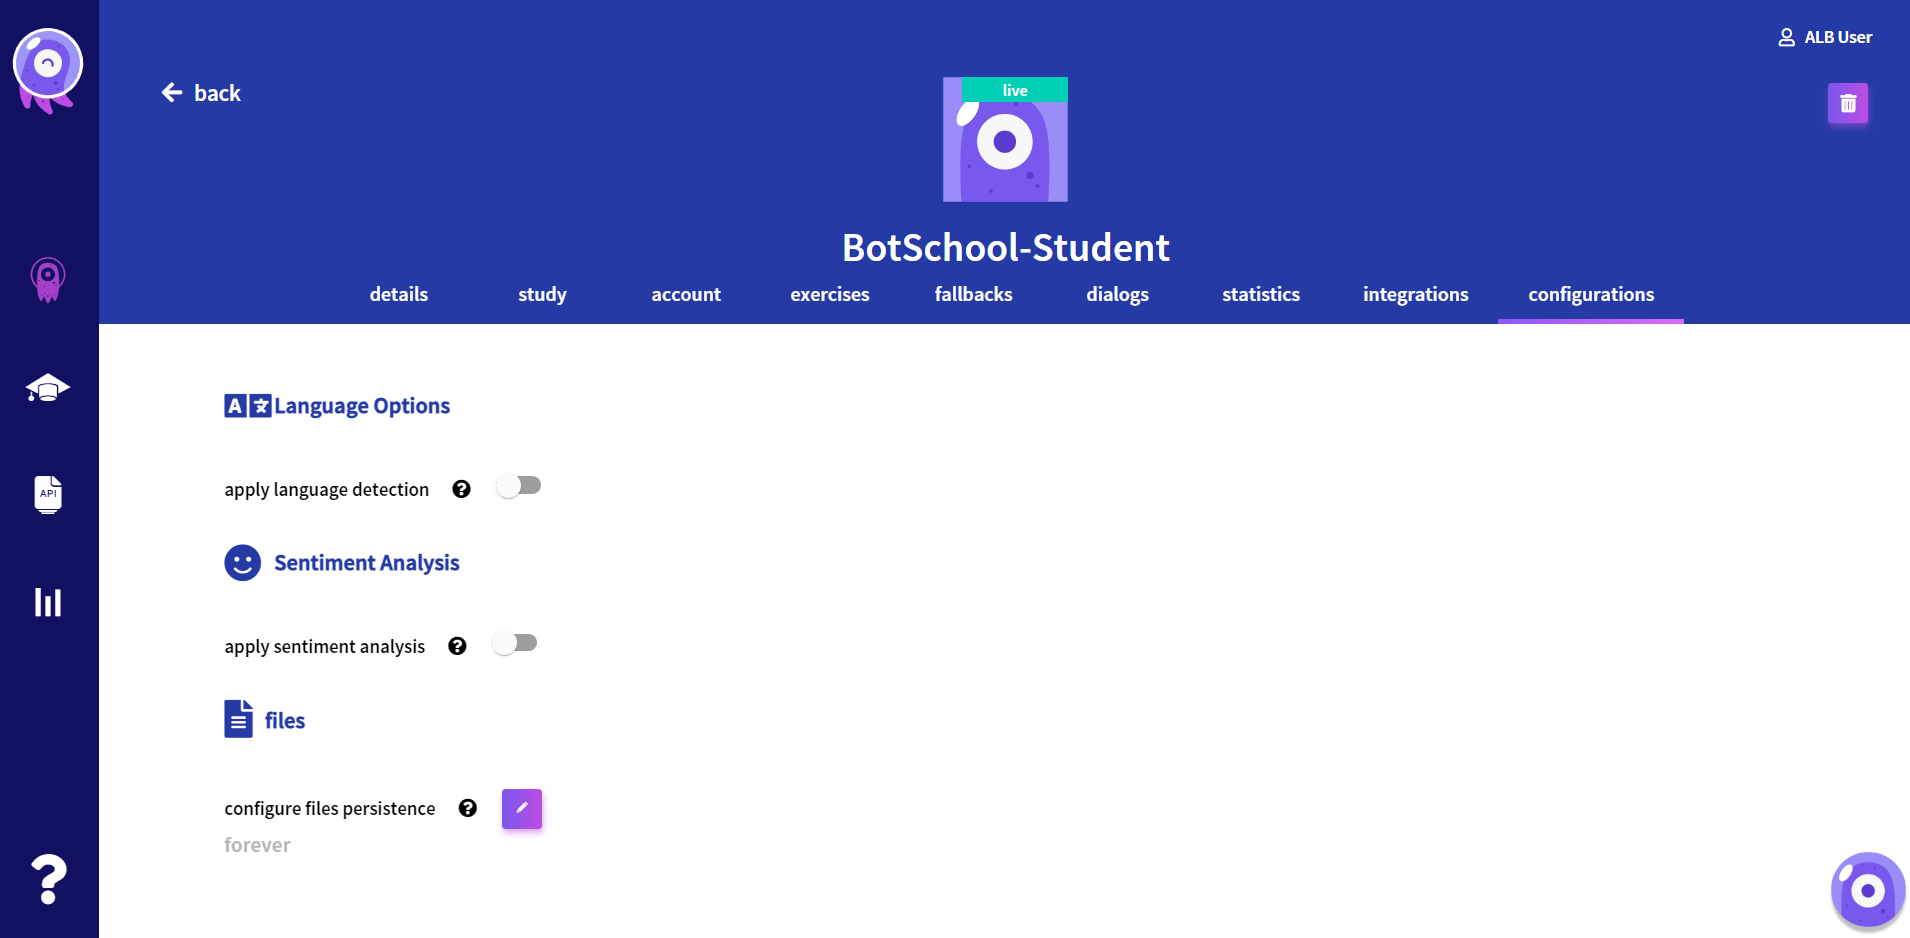
In this area, it is now possible to configure some student settings, like enable/disable language detection and sentiment analysis and configure files persistence.
Language Detection
With language detection enabled, the student can understand the response sent by the user, even if the language used is different from the one defined in the program. The variables which are responsible for the language detection are the following:
-
-
generic.language- Student language, that can assume one of the following values: ‘pt’, ‘fr’, ‘en’, ‘es’, ‘de’ and ‘br’. -
-
generic.languageDetected- The user’s language within the first speech. -
-
session.language- The predominant user’s language of the session.
Sentiment Analysis
Using sentiment analysis, it is possible to access the sentiment of the sentence and of the session overall. The following variables will load with the sentiment detection:
-
-
generic.sentiment- The detected user’s sentiment within the first speech. The sentiment can be classified as positive, negative ou neutral. -
-
session.sessionSentiment- The predominant sentiment of the session. Starts to be calculated after the fifth sentiment classification and the sentiment rating is done on a scale from -1 to 1 (-1 as negative, 0 as neutral and 1 as positive classification). -
-
session.trendingSentiment- The trending sentiment of the session. It only starts to be calculated after the fifth sentiment classification and the sentiment can be rated as upwards or downwards.
Files
In this area, it’s possible to configure the persistence of the files resulting from the upload and download operations, that were generated inside the programs associated with the student. The lifetime of the files can assume different values:
-
-
forever- files will never be deleted (default value); -
-
no persistence- files will never persist; -
-
custom duration- the file persistence time is configurable (eg. 1y 4m 3w 2d).